The Endian Management Center is a tool that can be used, among other things, to deploy configurations to multiple appliances by using a simple centralized process. This guide will explain the initial setup of such a process, respectively how to enable and configure the Endian Management Center, connect your Gold gateway and deploy a configuration to other gateways.
Note
Requirements
- The Switchboard module needs to be enabled and configured. You can find more details on how to enable and configure the Switchboard here.
- The SSL certificate that was configured in the Switchboard needs to be signed by a third party Trusted Certificate Authority. It is not possible to use a self-signed certificate with the Management Center.
- The Switchboard portal should be enabled and configured. Enabling the Switchboard portal is not mandatory, but is recommended for a better understanding of the steps in this guide.
- An up to date Endian appliance for running the Switchboard, and two Endian appliances to be used as the Gold gateway and gateway are needed.
- The appliances must be configured in routed mode.
Enabling the Management Center and connecting the Gold gateway
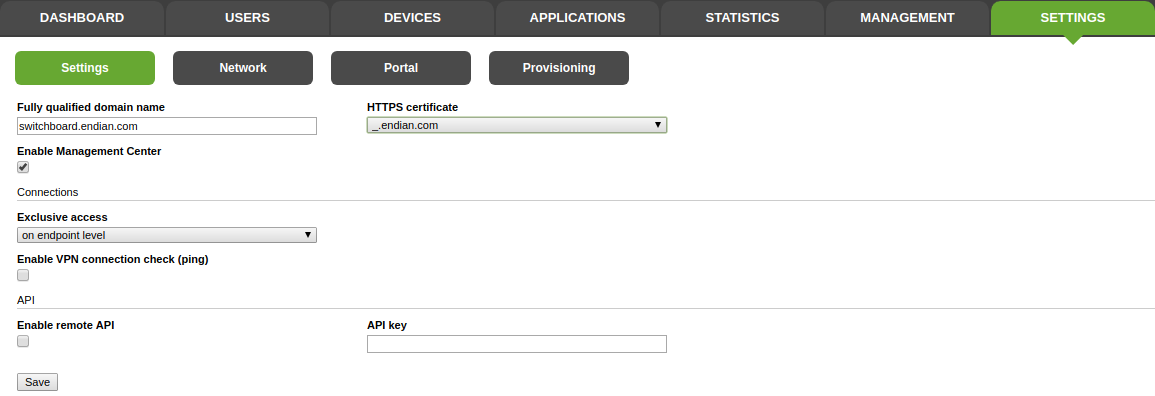
In order to enable the Endian Management center, you must first go under the Settings menu and check the Enable Management Center box after making sure that the Fully Qualified Domain Name matches the HTTPS certificate you selected. Finally, you need to click the Save button for the configuration to be applied.
In the following example image, the FQDN is switchboard.endian.com and the HTTPS certificate is a wildcard certificate for *.switchboard.endian.com that also must be explicitly valid for the domain switchboard.endian.com.
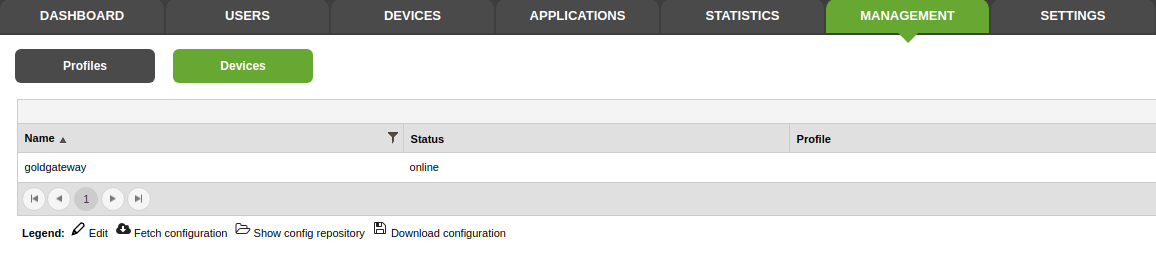
Once the Management Center has been enabled, it is necessary to Plug and Connect the Gold gateway by using the process described in this guide. After the process is completed, the appliance should be displayed and marked as online in the Devices section of the Management tab as shown in the image below.
Note
Fetching the Gold gateway configuration
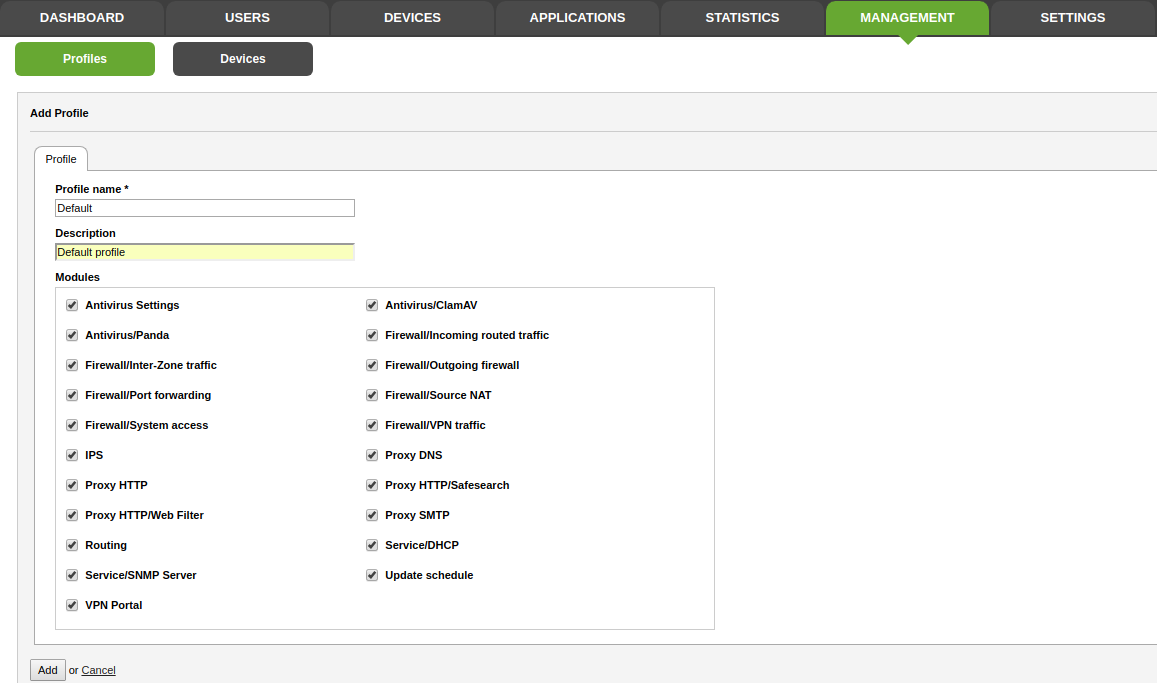
At least a default profile needs to be created in order to fetch and upload the Gold gateway configuration. A profile can be created by going to the Profiles tab in the Management section. A profile is identified by a name, an optional description and the list of modules which will be affected when the configuration is fetched or deployed.
The next step is to upload the Gold gateway configuration in the defined Default profile. This can be achieved in the newly created tab named Devices in the Profiles section by taking the following steps:
- Click the Change button and selecting the Gold gateway from the list of appliances then we
- Click the Fetch Configuration button and wait until it becomes active again and an Action completed message is displayed in the top-right corner.

Note
Deploying the configuration to the gateway
In the final step we must initially Plug and Connect the gateway by using the process described here, making sure it has been marked as online, and then deploy the configuration that was fetched from the Gold gateway to it.
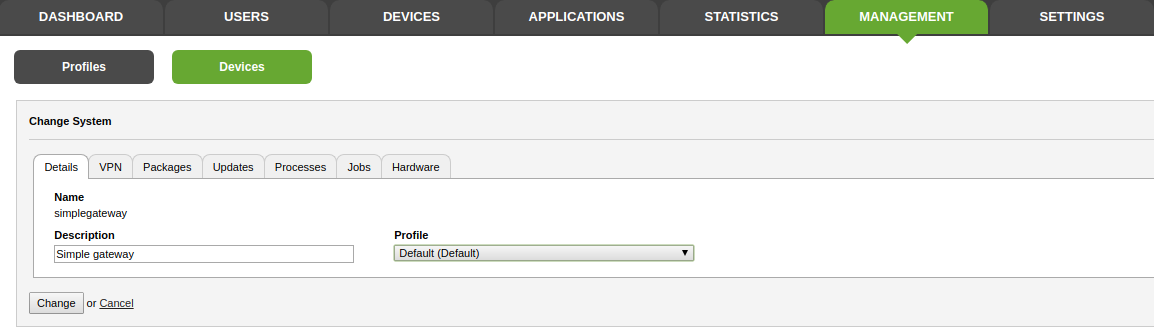
In order to be able to push the configuration, the current profile of the gateway needs to be changed by going the Devices section under the Management tab where the Default profile needs to be selected.
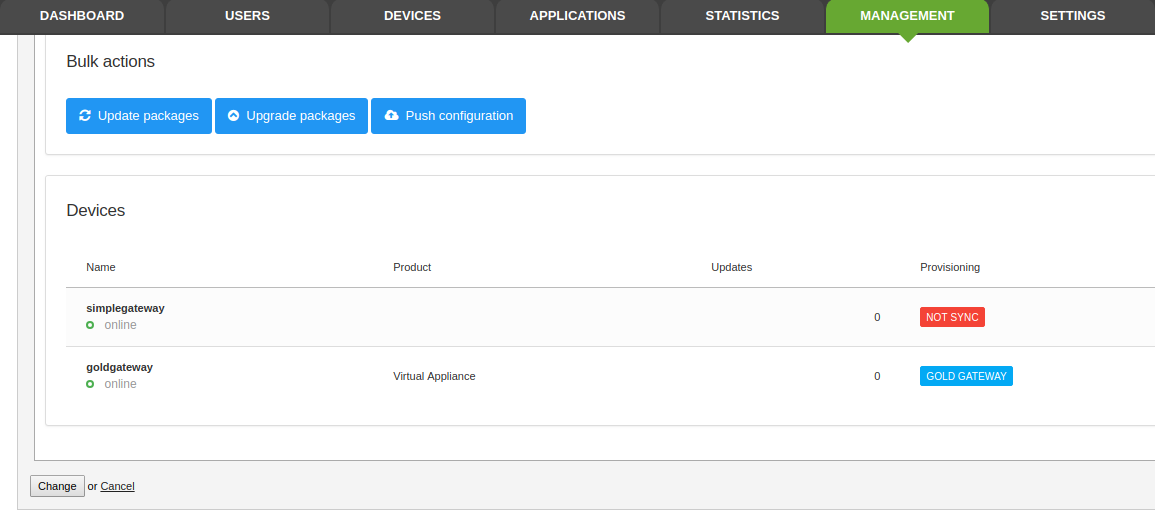
After the profile has been changed, the gateway should show up next to the Gold gateway in the Devices section of the Default profile as shown in the image below.
Note
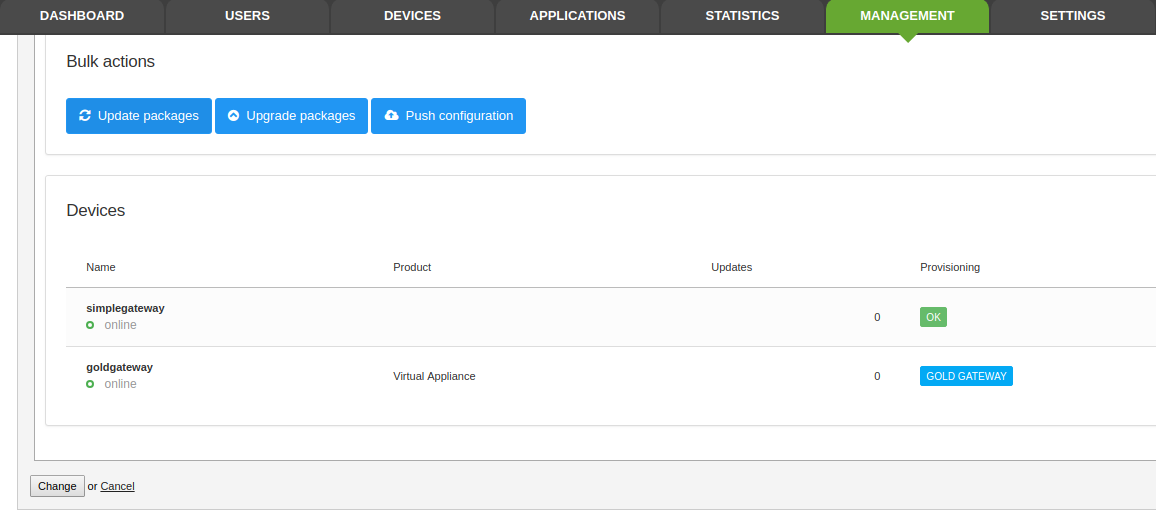
The final step is to click the Push configuration button and wait for the configuration to be transferred to the gateway. If the process completes without any errors, you should see the OK message displayed under the Provisioning column in the list as pictured below.
Note
The configuration changes pushed to the gateways are stored in a different folder from the changes that are applied on the gateway locally and the changes made locally will always overwrite the changes pushed from the Management Center.
Comments