Applies to Platform: UTM 2.4, UTM 2.5; 4i Edge 2.5
Last Updated: 3rd June 2014
Applies to Platform: UTM 3.0, 4i Edge 3.0
Last Updated: 3rd June 2014
Format and Plug in USB Drive
It's recommended to format your USB drive to a generic Microsoft FAT or FAT32 style as this is recognized by Endian. To do so, use the following generic instructions:
- If you're using Windows (XP, Vista, Win7), you can format a drive by right-clicking the drive in My Computer and select Format
- If you're using Mac OS X, you can format a drive using the Disk Utility (by default located in the Utilities folder of you Applications directory)
- If you're using Linux, some distributions provide a graphical disk utility or you can use the command "sudo mkfs.vfat /dev/sda1" (where sda1 is the partition you wish to format)
The next step is to plug in an the external USB (thumb) drive to your Endian device via the USB port.
Create Backup


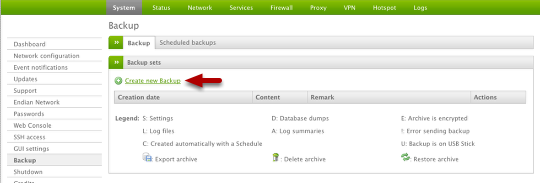
Under System > Backup, select the Create New Backup item to begin the process.
Configure Backup Settings

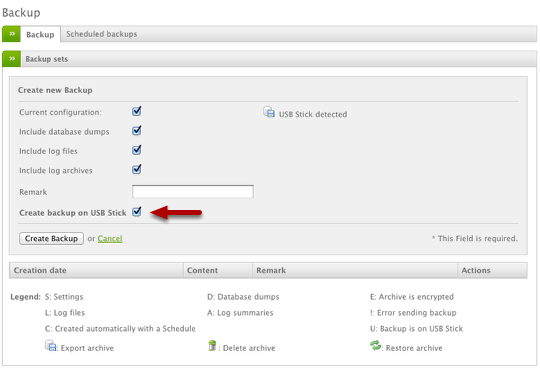
Before you begin you'll need to select the items you wish to be included in the backup. If you are creating a full backup, then you should select all of the items to be included (as shown above). The Endian should automatically detect your USB drive and provide the option to create the backup on the USB stick.
Note
Once this is done, select Create Backup to create the file.
Verify Completion


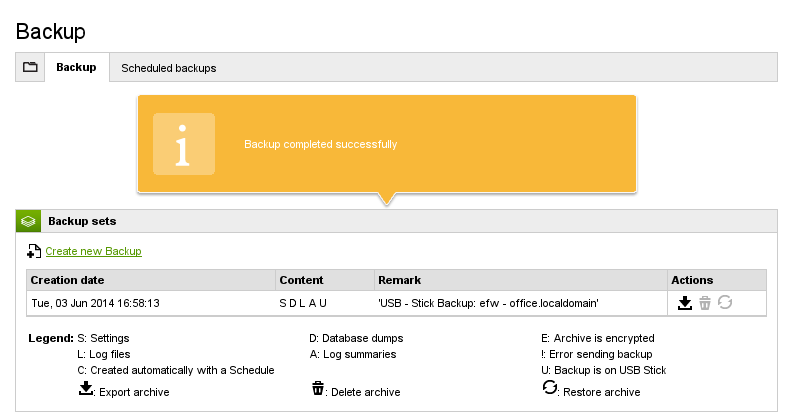
Once the process is done (may take a few minutes), you should see a confirmation screen like the above. You can then download the file to your local computer, delete the backup, or perform a restore using that specific backup using the Action items.
Commenti