Applies to Platform: UTM 6.x, 4i Edge X 6.x
Last Updated: 12 Apr 2022
This lesson will illustrate the steps required to configure your Endian appliance the very first time.
Accessing the Device
The very first time you boot-up your appliance, you'll need to connect a workstation (laptop or desktop) to the Green (LAN) interface of the device. If you are connecting directly from your device to the Endian then you'll most likely require a crossover cable. If you're accessing the Endian through a switch or hub then you can use a simple straight-through Ethernet cable. The default IP of the Endian is 192.168.0.15 so you'll need to set a static IP on your local machine that's within that Class C subnet (/24) so for example you could set your device to use the IP 192.168.0.100 with a netmask of 255.255.255.0
Endian Management Default IP: https://192.168.0.15:10443/
Once you've reached the initial Endian wizard screen (pictured above), click the Continue button ![]() to begin the Installation Wizard.
to begin the Installation Wizard.
Set the Language

Here you can select your preferred language for the Web interface. Click the Continue button to move to the next step.
Accept the License Agreement
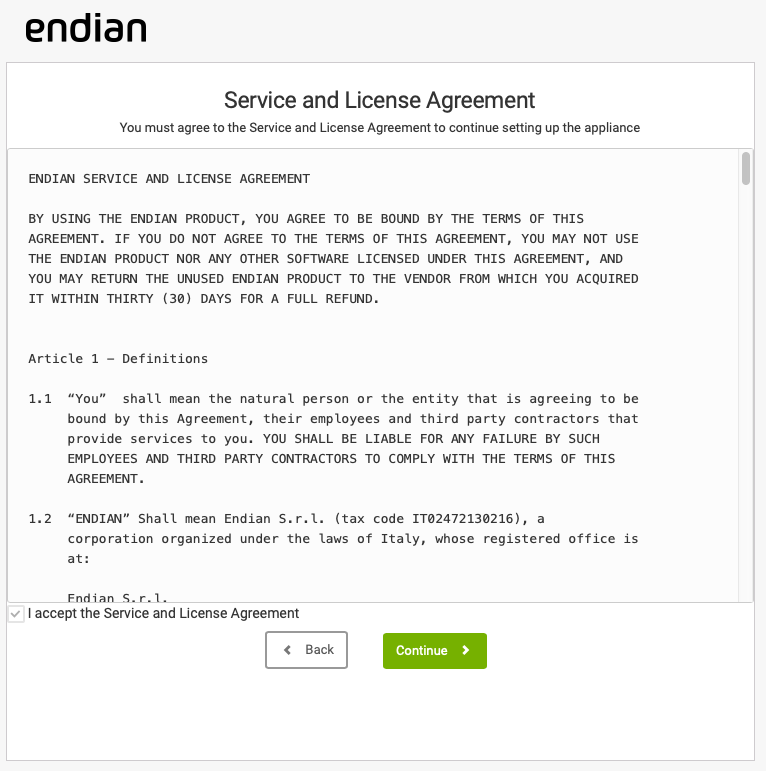
Next you must select that you accept the Endian license agreement. Once you're ready, check the "I Accept" checkbox and click the Continue button to proceed.
Select a Configuration Mode

The next step allows you to select the configuration mode used to configure the device. There are three options as follows:
- Plug & Connect: This option is only available to users who are connecting the appliance with an existing Switchboard installation.
Warning
If you don't have a Switchboard or have not been provided this information from your IT department, you should NOT select this option. - Restore a backup: This option allows the user to restore a previous backup configuration to your device. If you have one and want to use it, then select this option and at the next step choose the backup file (.tgz).
- Setup Assistant: This option is recommended for any appliance being configured as a standalone unit which does not meet the conditions for the previous two options. This option will walk you through additional steps to get your device initially configured.
Choose your option here and click Continue to proceed.
Setup Assistant - Set Passwords & Device Info
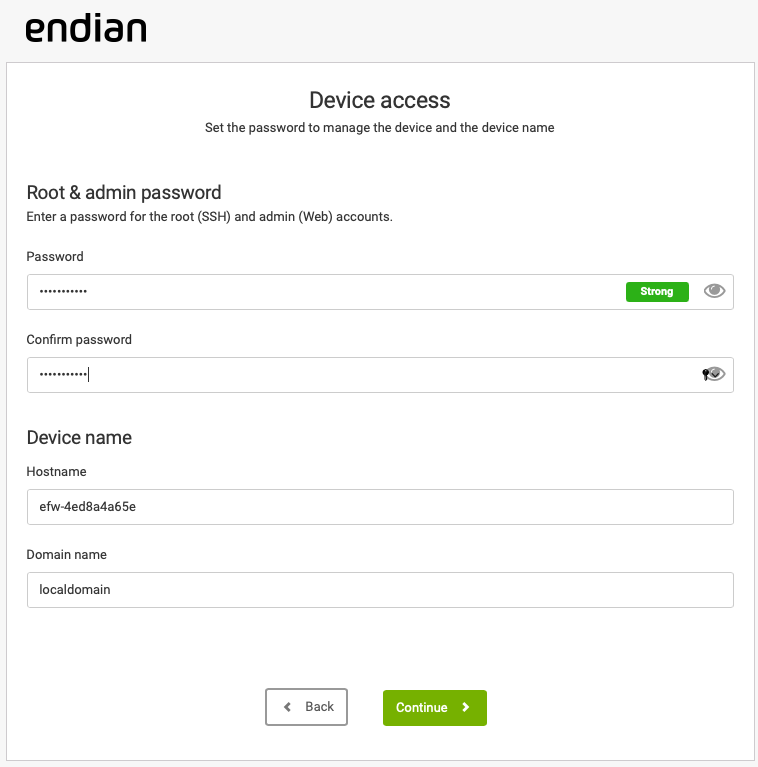
Next, you'll set your unique password which is used for both Web UI and SSH (or console). Click the Continue button to proceed.
Note
Setup Assistant - Set Time Zone
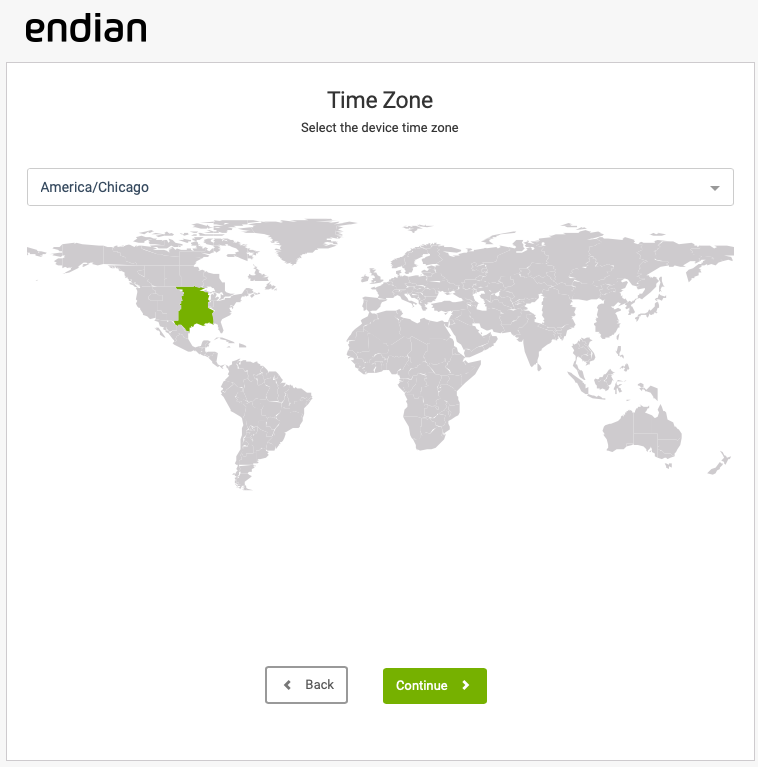
Here you can choose the time zone to use for the appliance by using multiple methods:
- Use dropdown to select your time zone
- Type in the dropdown to quickly search and select your time zone
- Click on the map time zone location using your mouse
Setup Assistant - Set Network Configuration
The rest of the configuration steps involve setting up the network interfaces of your Endian Appliance. Please see the next chapter, Network Configuration Wizard for details.
Comments