Applies to Platform: UTM 5.1
This module allow to simplify the establishment of a network to network using OpenVPN.
Requirements
-
Appliance must be updated to 5.1 version.
-
Appliance designed to be the server must be registered on Endian Network.
-
All appliances designed to be clients must be registered on Endian Network.
-
The client should be able to communicate with the server on port 2003 UDP.
Note
-
This module is not compatible with the switchboard module. If an appliance have the switchboard module installed the Plug and Connect tab in the OpenVPN server page will NOT be visible.
-
The VPN created is routed. No bridged VPN are allowed with this method.
-
A virtual pool of ip is created and assigned to the endpoints. In this way the endpoints are easily reachable through the VPN.
Enable and configure EasyVPN
For enabling the EasyVPN feature, you should login on the web GUI and go under the section "VPN > OpenVPN server > EasyVPN" and click on the enable button, after a few seconds EasyVPN will be enabled and a dedicated OpenVPN instance running on port UDP 2003 will created.
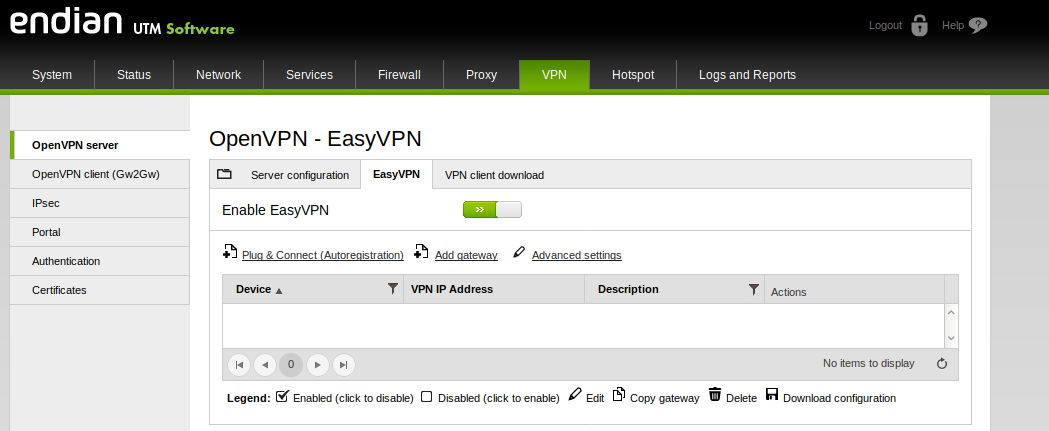
Claim a device on EasyVPN server
For connecting an Endian device to our EasyVPN server go under the section "VPN > OpenVPN server > EasyVPN" and click on Plug & Connect button.
A step-by-step wizard will be presented and will explain how to complete the procedure.
In the first step, if there aren't yet configured, the wizard will ask for the user Endian Network credentials.
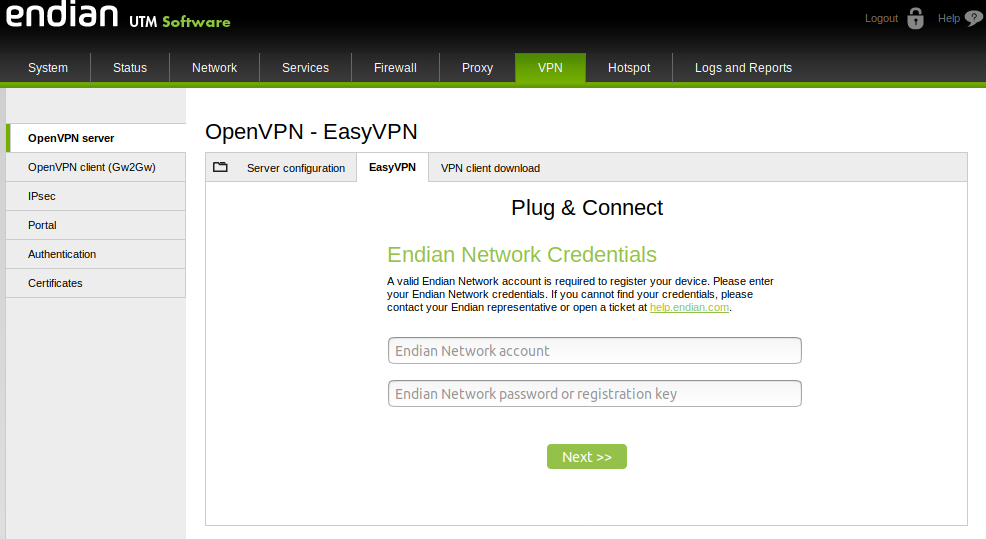
After configuring our Endian Network credentials 3 steps need to be performed for the Plug & Connect procedure.
In the first step of the Plug & Connect procedure insert the activation code of the Endian device that we want to connect to the EasyVPN server.
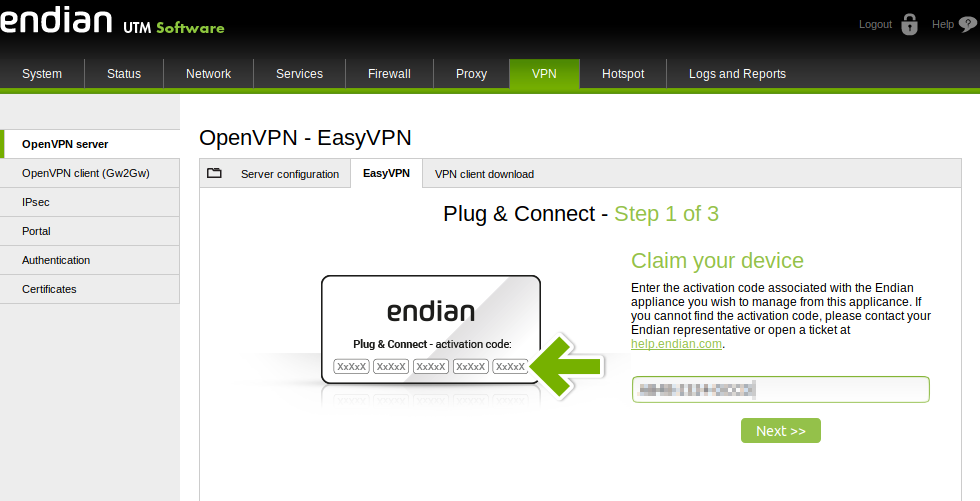
In the second step fill some data regarding the Endian device that we are connecting to EasyVPN, these fields are:
-
Name.
-
Description (optional).
-
Password.
-
Endpoints (optional).
Note
Endpoints are the devices behind the remote Endian that we want to make reachable from the EasyVPN server to all the user behind the EasyVPN server GREEN network.
The third and final step is a status page that wait for the remote Endian device VPN connection.
After few minutes a pop-up will appear with a notification that the system is properly connected to the EasyVPN Server.
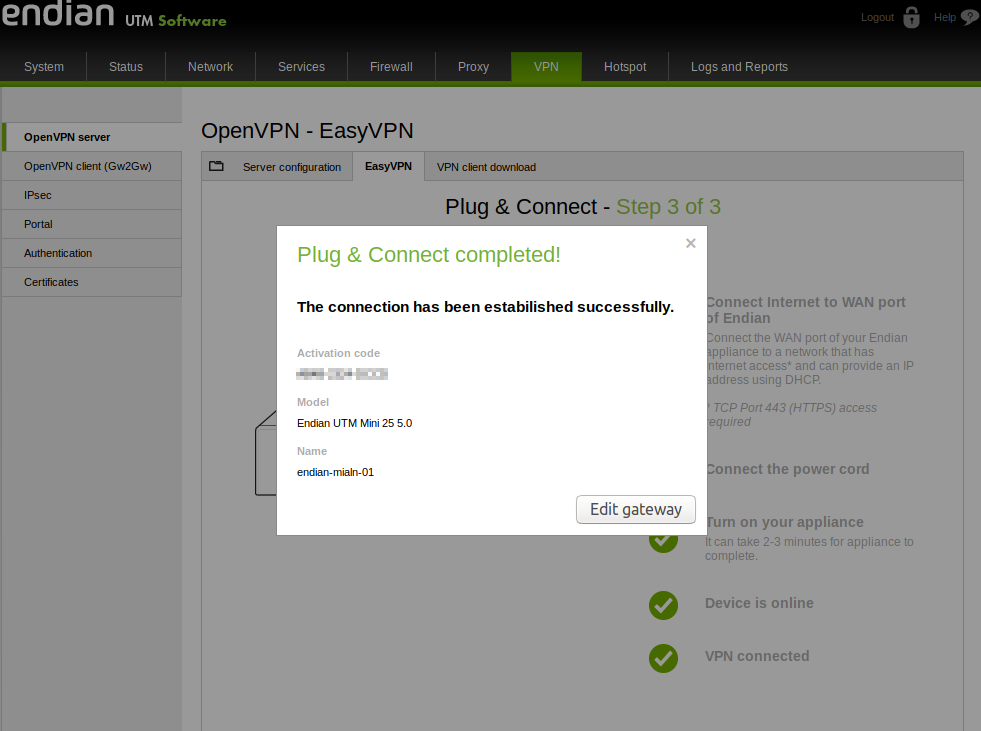
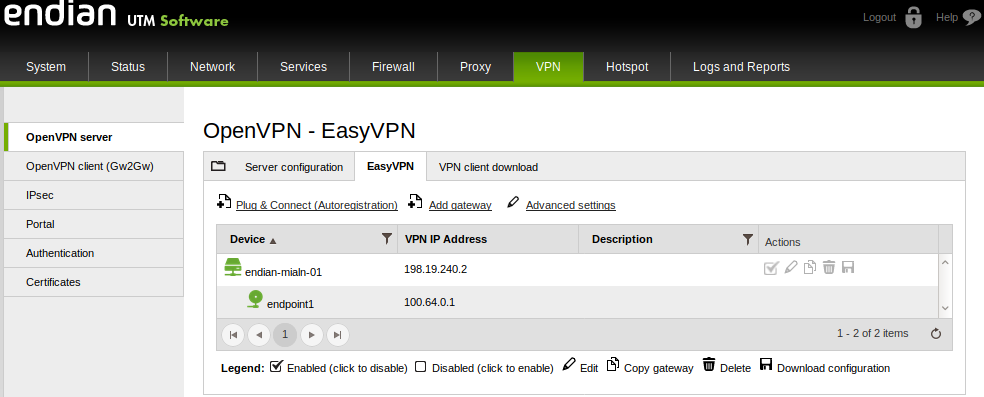
Setup the remote Endian (client)
In order to perform the automatic VPN configuration specify to Endian from which EasyVPN server should download the configuration file.
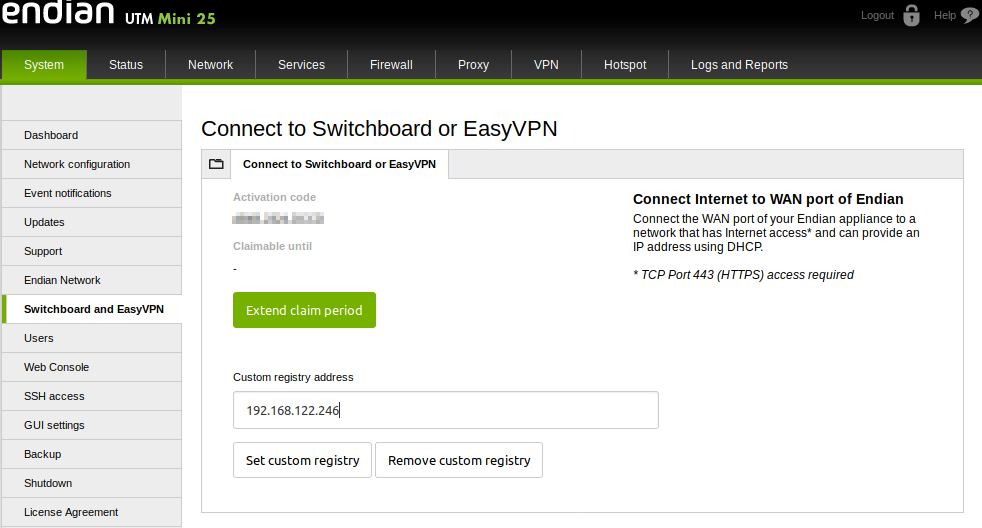
Login on the web GUI and reach teh page "System > Switchboard and EasyVPN".
Specify the EasyVPN server IP or FQDN by clicking on "Set custom registry" and insert the IP/FQDN and then press again “Set custom registry” and finally press the "Extend claim period" button to start the connection process.
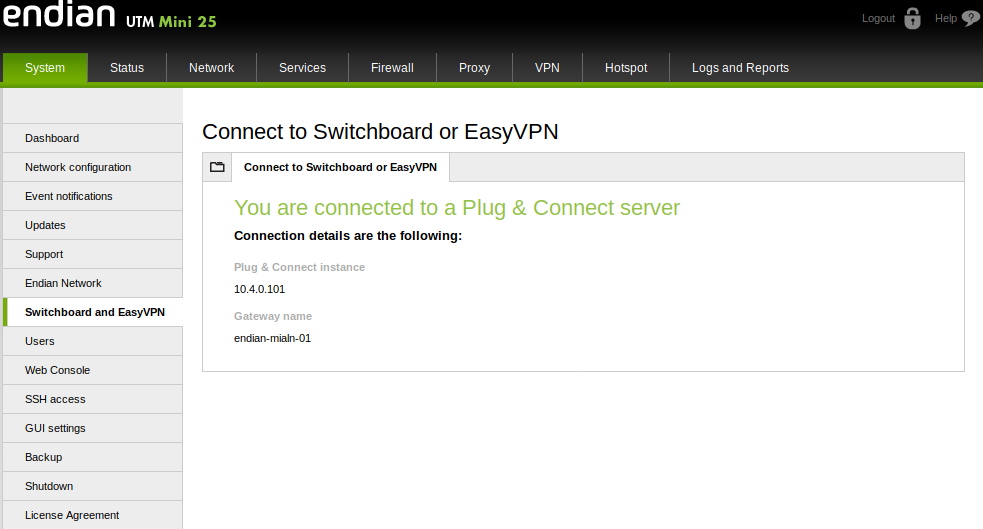
After a few minutes the system will show the message "You are connected to a Plug & Connect Server" with the information about the server address and the client name on the server.
Comments