In this tutorial we explain how-to merge the two Let's Encrypt CA certificates and import it on the Endian Connect App (both Windows and MAC OSX) in order to don't have the certificate warning.
If you want to setup a certificate using Let's Encrypt tool directly on Endian GUI you should follow this lesson
Requirements
- a file or code editor like Notepad++, Microsoft code, etc..
- Endian Connect App
- Let's encrypt intermediate and root CA certificate
Download the CA certificates
- Login into on the web interface of your Endian Switchboard appliance
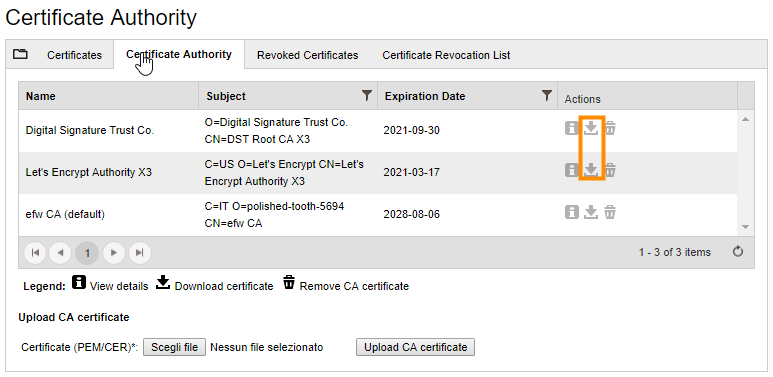
- Once you're logged-in go under the section "VPN > Certificates > Certificate Authority"
- We should have two CA certificates, the intermediate CA called "Let's Encrypt Autority X3" and the root CA certificate called "DST Root CA X3"
Note: in case you have a different intermediate CA or you don't have the root CA (and you need to download it), please go to this link for find the corresponding root CA.
- Download both CA by clicking on the download symbol

Merge the CA certificates
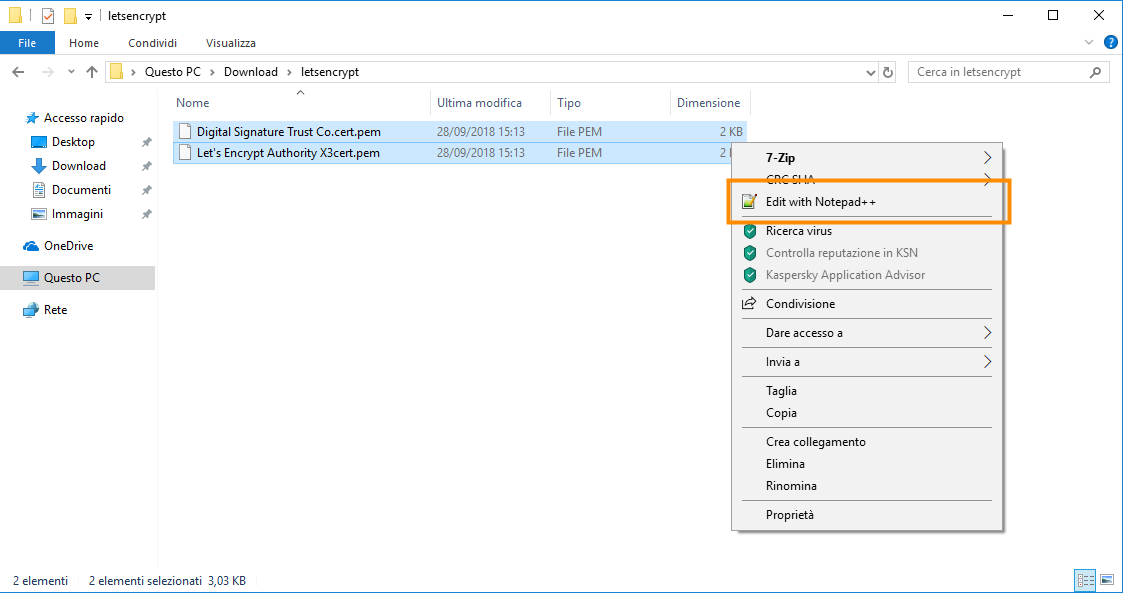
- Go to the folder where you have saved the certificates and select both the files
- Right click with the mouse and choose "Edit with Notepad++"
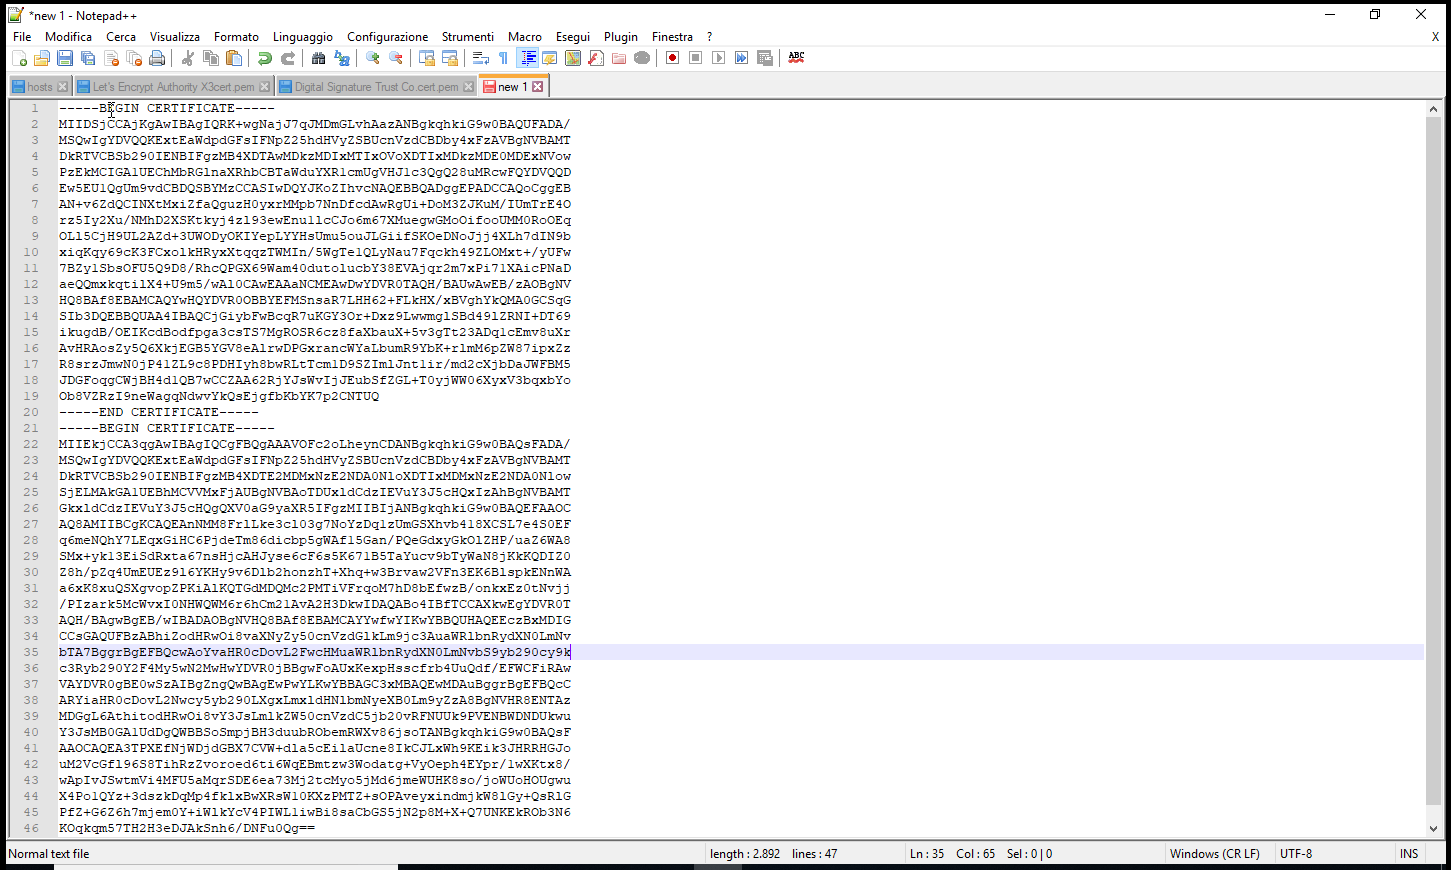
- After this create a new file (press CTRL+n)
- Copy the content of the first CA to the new file (starting from "-----BEGIN CERTIFICATE-----" until "-----END CERTIFICATE-----")
- Copy the content of the second CA to the new file (starting from "-----BEGIN CERTIFICATE-----" until "-----END CERTIFICATE-----")
The content of the new file should be like the image below:
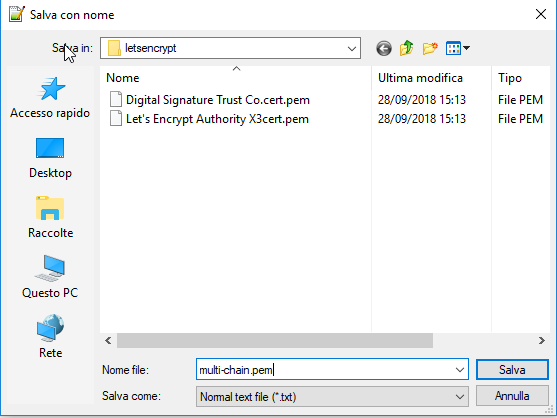
- Save the new file with .pem extension, in our example we have called the file multi-chain.pem but you can give the name that you prefer
Import the CA certificate into Endian Connect App
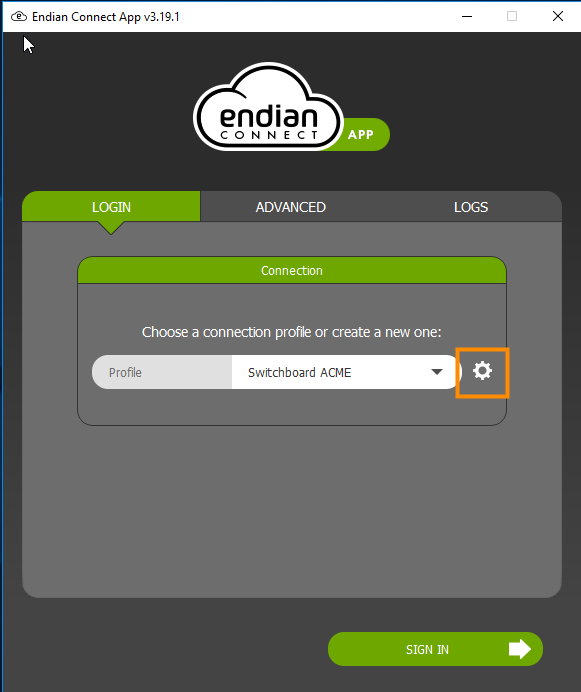
- Open the Endian Connect App
- Choose your Switchboard profile
- Click on the gear button
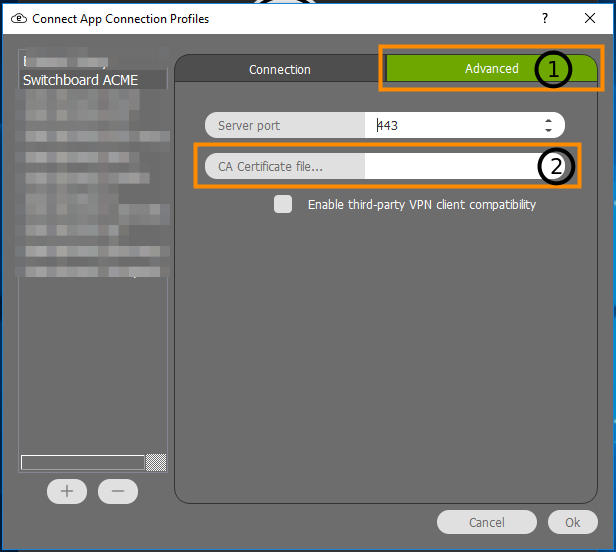
- Click on "Advanced tab" (1) and then on "CA Certificate file" (2)
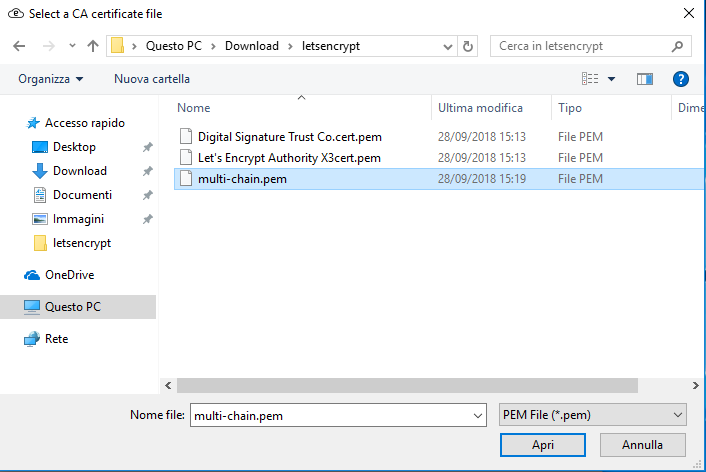
- Select the "multi-chain.pem" CA file and click on "OK" button
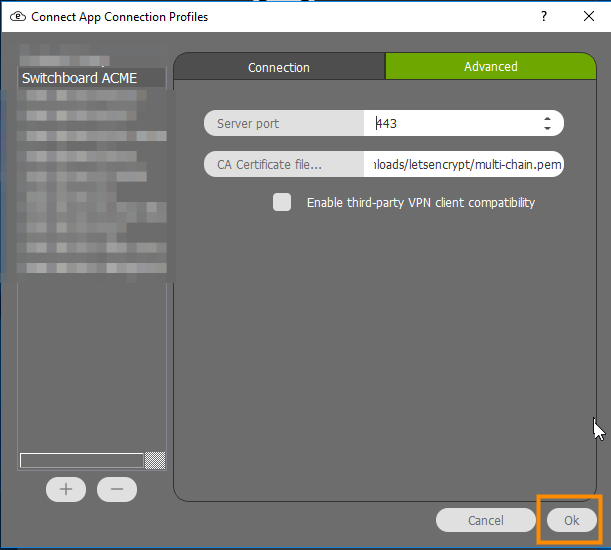
That's it, you can now connect to your Endian Switchboard
Comments