Background
This lesson will walk you through the customization of Endian Hotspot login portal. By the end of this guide, you will be able to change the appearance of such login portal to achieve a customization based on your business needs.
In order to customize the login portal, it is needed to upload .CSS customized files that will override the default settings. Such files need to be named as:
- portalcustom.css: for Desktop version of the login portal.
- miniportalcustom.css: for Mobile version of the login portal.
If custom images need to be adopted for the customization, they have to be uploaded as well, as shown in the next steps.
Custom CSS file creation for Desktop version
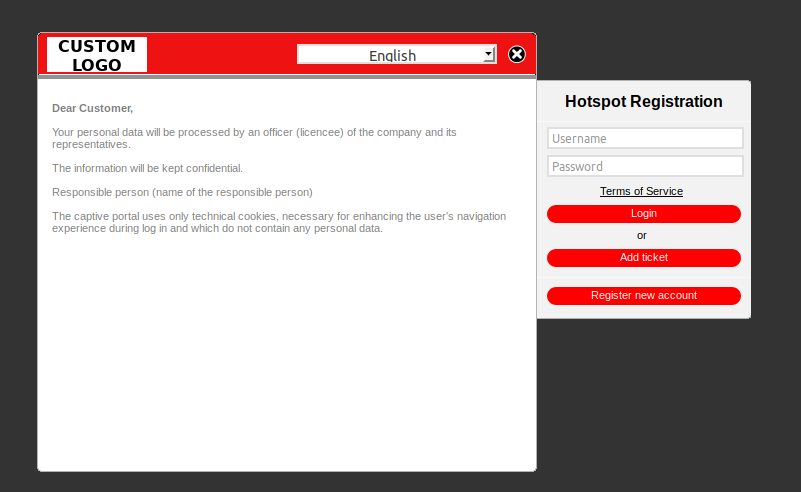
In this section, an example of portalcustom.css code will be shown, along with its customization results.
In particular, we will show the result of the customization with the following code into the .css custom file:
.main-header {                         /* Bar under the logo customization */
	background-image: url(/userfiles/images/custom_main_header.png);
	background-repeat: no-repeat;
	background-position: left top;
	width: 500px;
	height: 50px;
	margin: 0;
	padding: 0;
}

div.logo img { display: none; }        /* Disable the original logo */

div.logo {                             /* Show the custom logo */
	display: block;
	background: url(/userfiles/images/custom_logo.png) no-repeat;
	width: 100px;
	height: 40px;
	margin: 5px 10px;
}

.button {                              /* Button customization */
    background-color: red;
}

.link {                                /* Link customization */
	color: red;
}

.focusField {       /* Customization of the elements once cursor is over them */
    background: #ec6b6b;
    border: solid 2px red;
}
Note
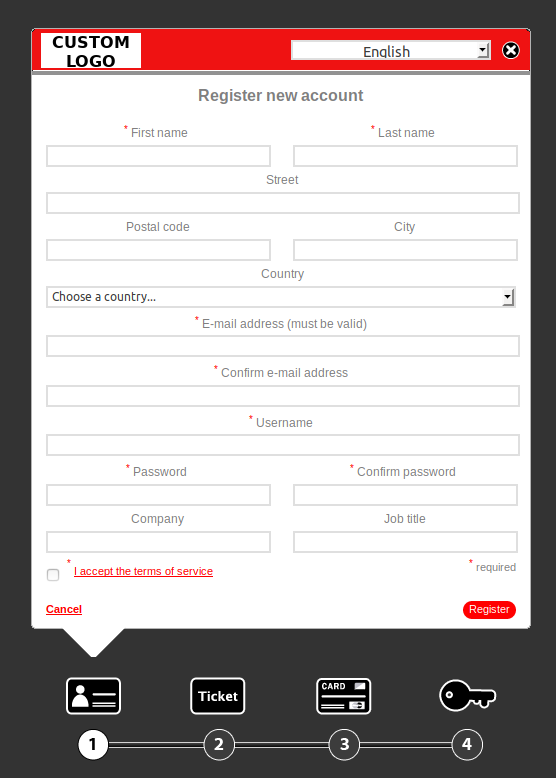
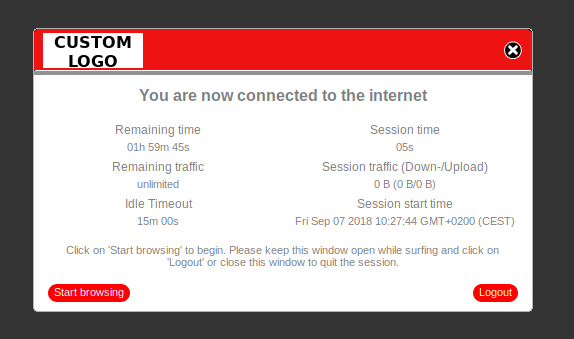
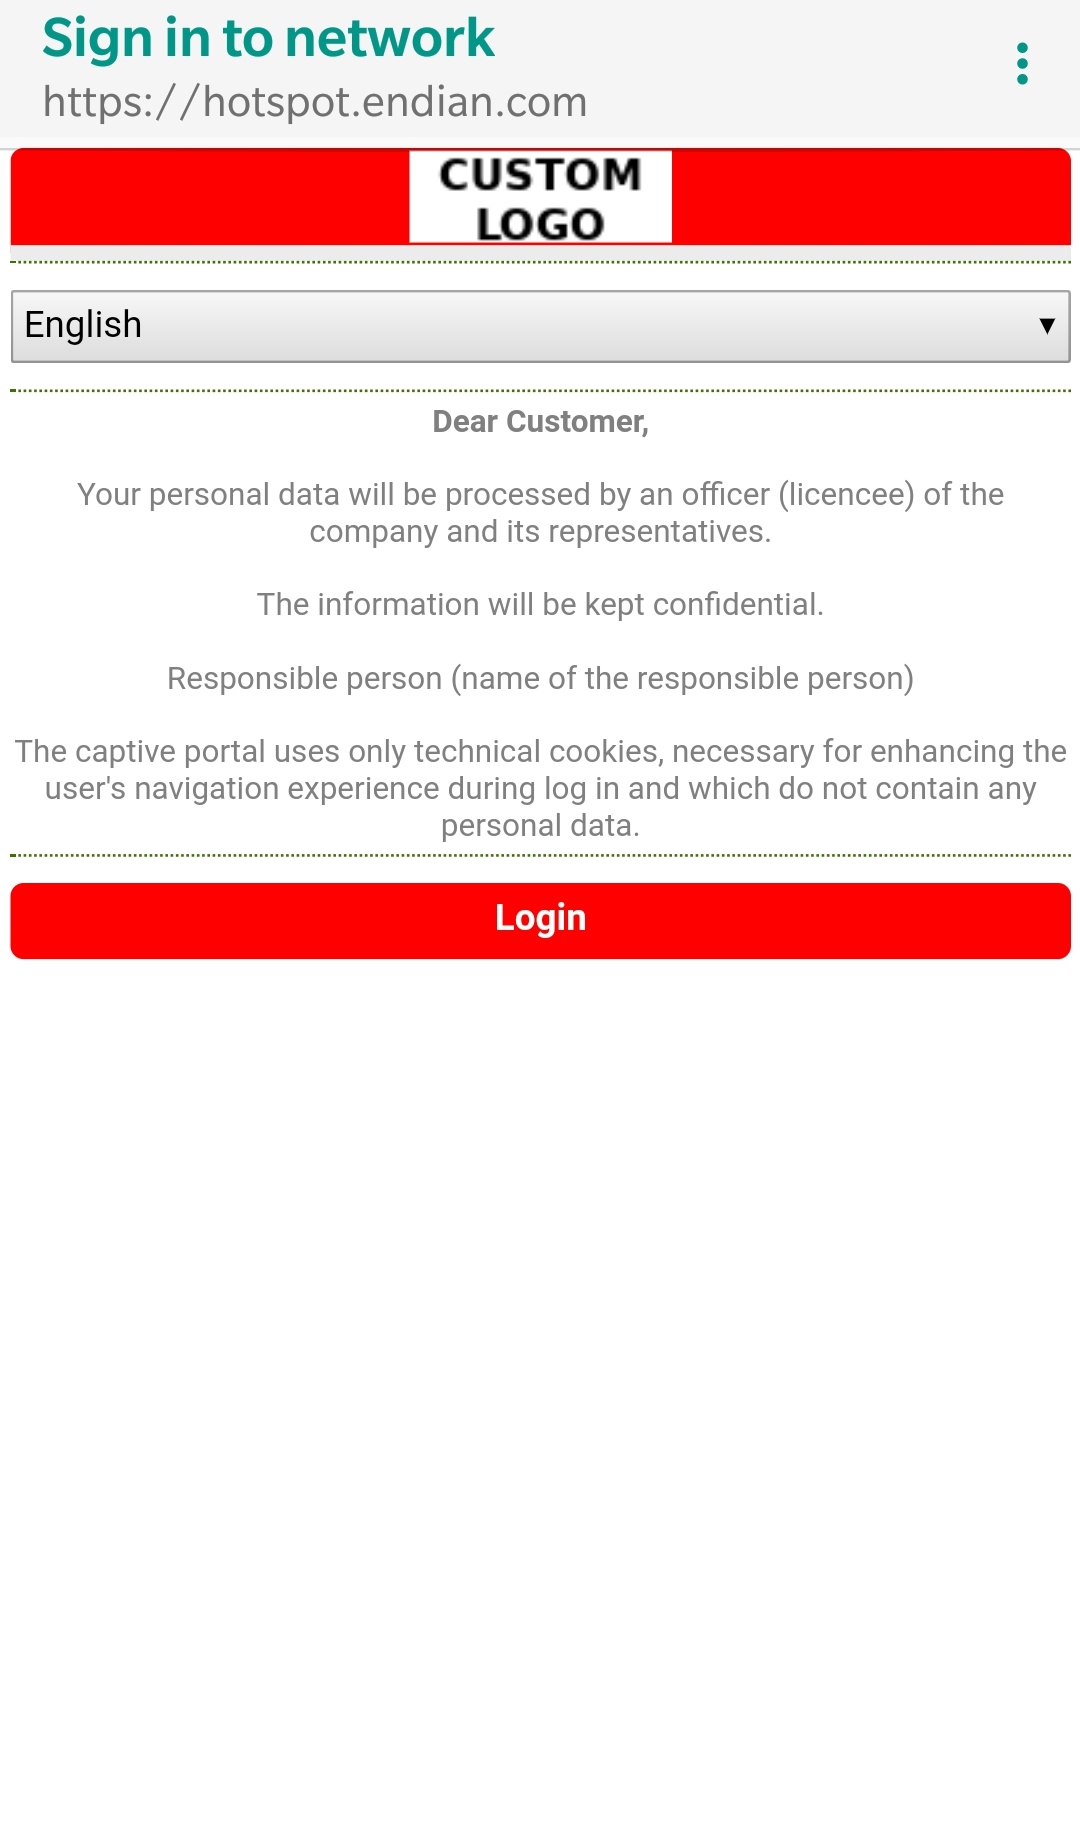
With such customization, the login portal pages become from the originals to the following ones:
Custom CSS file creation for Mobile version
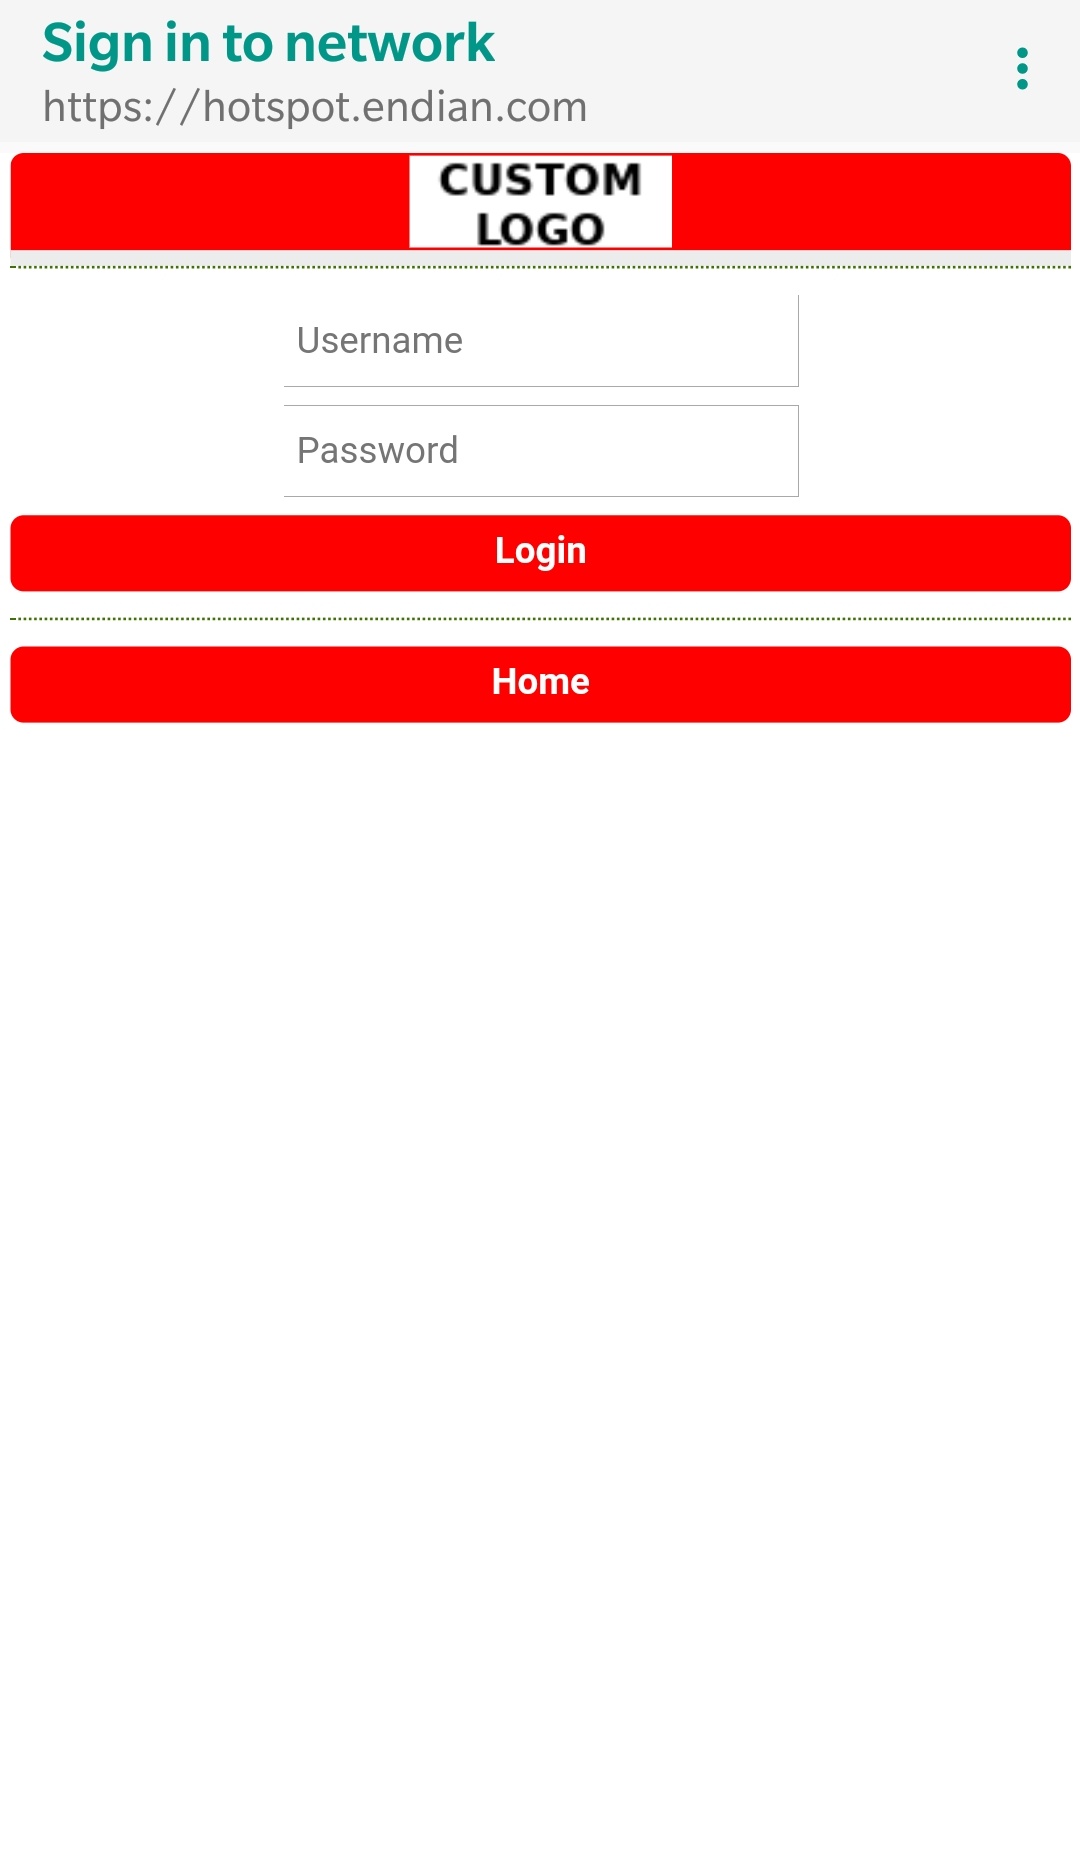
In this section, an example of miniportalcustom.css code will be shown, along with its customization results.
In particular, we will show the result of the customization with the following code into the .css custom file:
.main-header {                        /* Bar under the logo customization */
	background-image: url(/userfiles/images/custom_main_header.png);
	background-repeat: no-repeat;
	background-position: left top;

	width: 500px;
	height: 50px;

	margin: 0;
	padding: 0;
}

div.logo img { display: none; }              /* Disable the original logo */

div.logo {                                   /* Show the custom logo */
	display: block;
	background: url(/userfiles/images/custom_logo.png) no-repeat center;
	background-color: red;
	width: auto;
	height: 25px;
	border-bottom: 6px solid #ececec;
	margin: 0 0;
}

.button {                    /* Button customization */
    background-color: red;
}

.button:hover {  /* Customization of the button once the button is clicked*/
    background-color: #7e7e7e;
}

.link {                      /* Link customization */
	color: red;
}
Note
With such customization, the login portal pages become from the originals to the following ones:
Custom CSS files upload on Endian UTM Appliance
Once custom .CSS files are ready, they need to be uploaded on Endian UTM Appliance in order to apply the customization. Follow the next steps to do it.
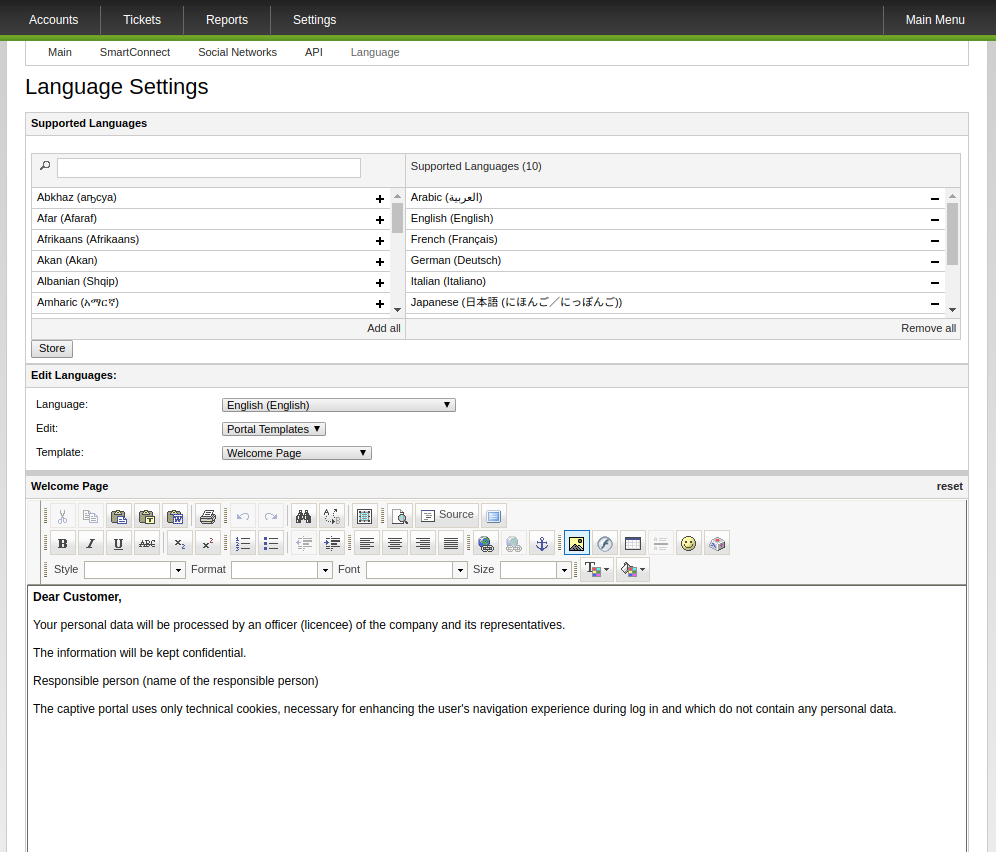
1. From the hotspot administration interface, click on Settings > Language, then click on the  button.
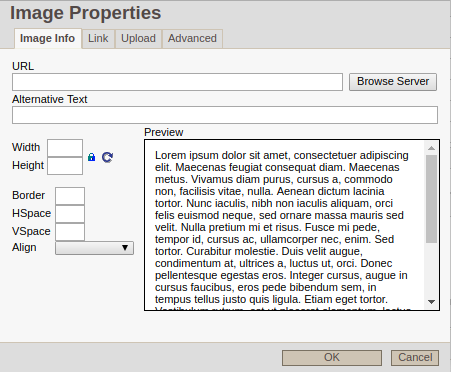
2. Click on Image Info > Browse Server.
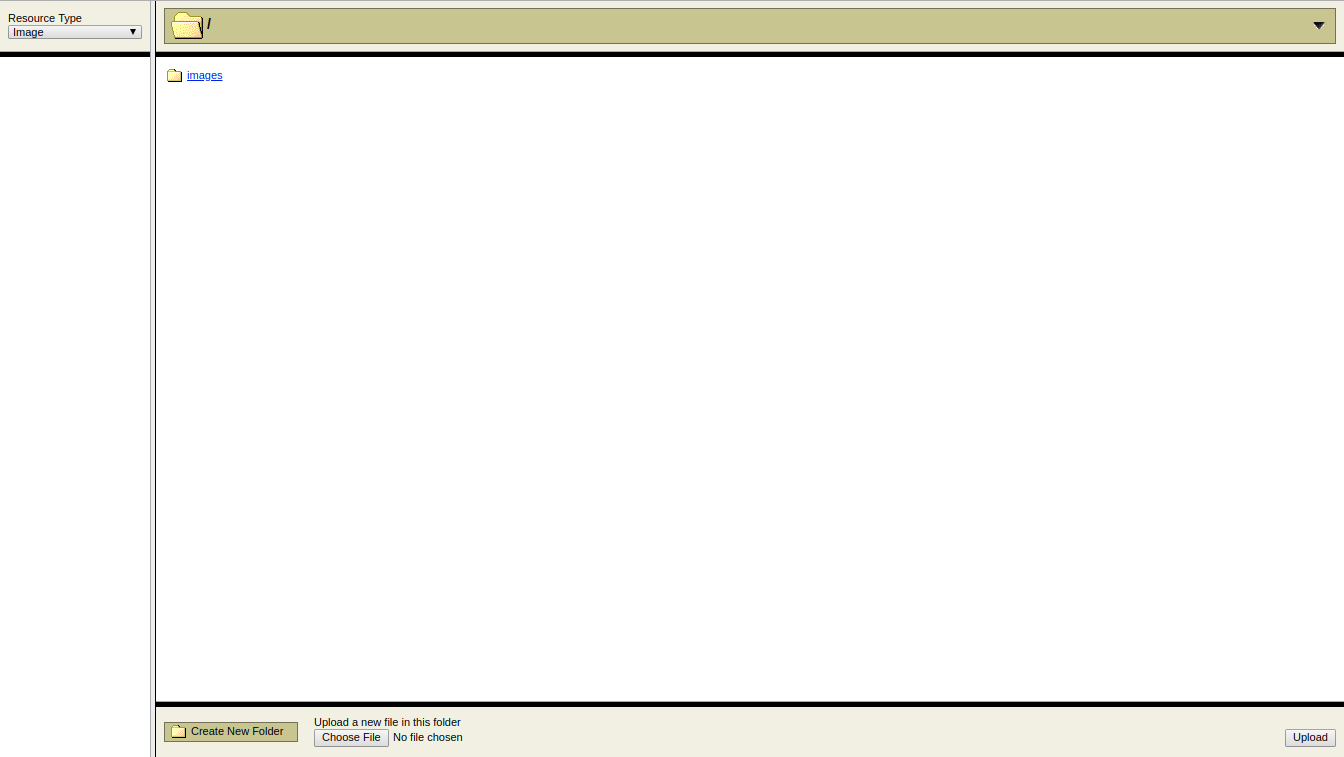
3. Click on Choose File, then select the .CSS file you want to upload, then click on Upload. If you need to upload also images included into the .CSS file, you need to click on already present images folder and upload the needed images on there.
Now the customizations are applied, and you can test them by trying to access Internet through the hotspot network.
Comments