Background
This document will walk you through setting up the Endian hotspot to run with local authentication, so users can login with their own local accounts and access the Internet. This particular example will demonstrate the process by creating a ticket and a local user with both the traditional method and by using Quick Ticket feature.
Create a ticket
The first thing you need to do is to create the ticket(s) that will be assigned to the local user. These can be time-based or usage-based (bandwidth) and you can have as many or as few as you need.
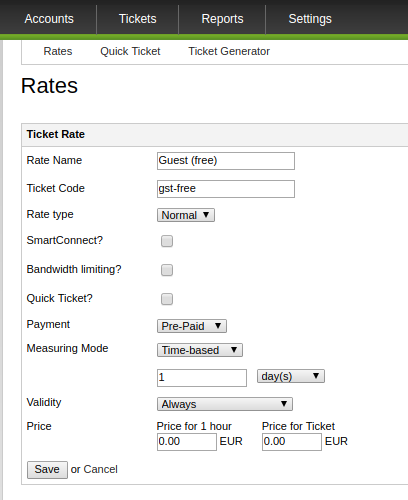
From the hotspot administration interface, select Tickets > Rates > Add Rate and you will be presented with a ticket creation form, then proceed with the next steps to correctly fill it:
- Provide a ticket name (generic) and a ticket code and select the checkboxs for SmartConnect and Quick Ticket as you need:
-
SmartConnect?: tick the checkbox to use this rate is available for SmartConnect transactions.
-
Quick Ticket?: tick the checkbox to use this rate for the creation of new quick tickets.
-
- Select Pre-Paid or Post-Paid as the payment method and then choose the appropriate measuring ticket mode. In this example, we've selected Pre-Paid so the ticket is immediately usable.
- Using Time-based tickets allows you to set a time limit on the validity of a ticket (minutes, hours, days), whereas Traffic-based allows you to provide a set bandwidth limitation per ticket. In this example, we've selected a Time-based ticket length of 1 day so each user will get a day pass of Internet access.
- Select an appropriate value for Validity. In this example, we've selected Always so the ticket will never expires.
- Set the pricing for both Price for 1 hour and Price for Ticket as you need. Leave both Price for 1 hour and Price for Ticket if you want to create a free ticket.
Click Save when you finished.
Configure Hotspot Settings
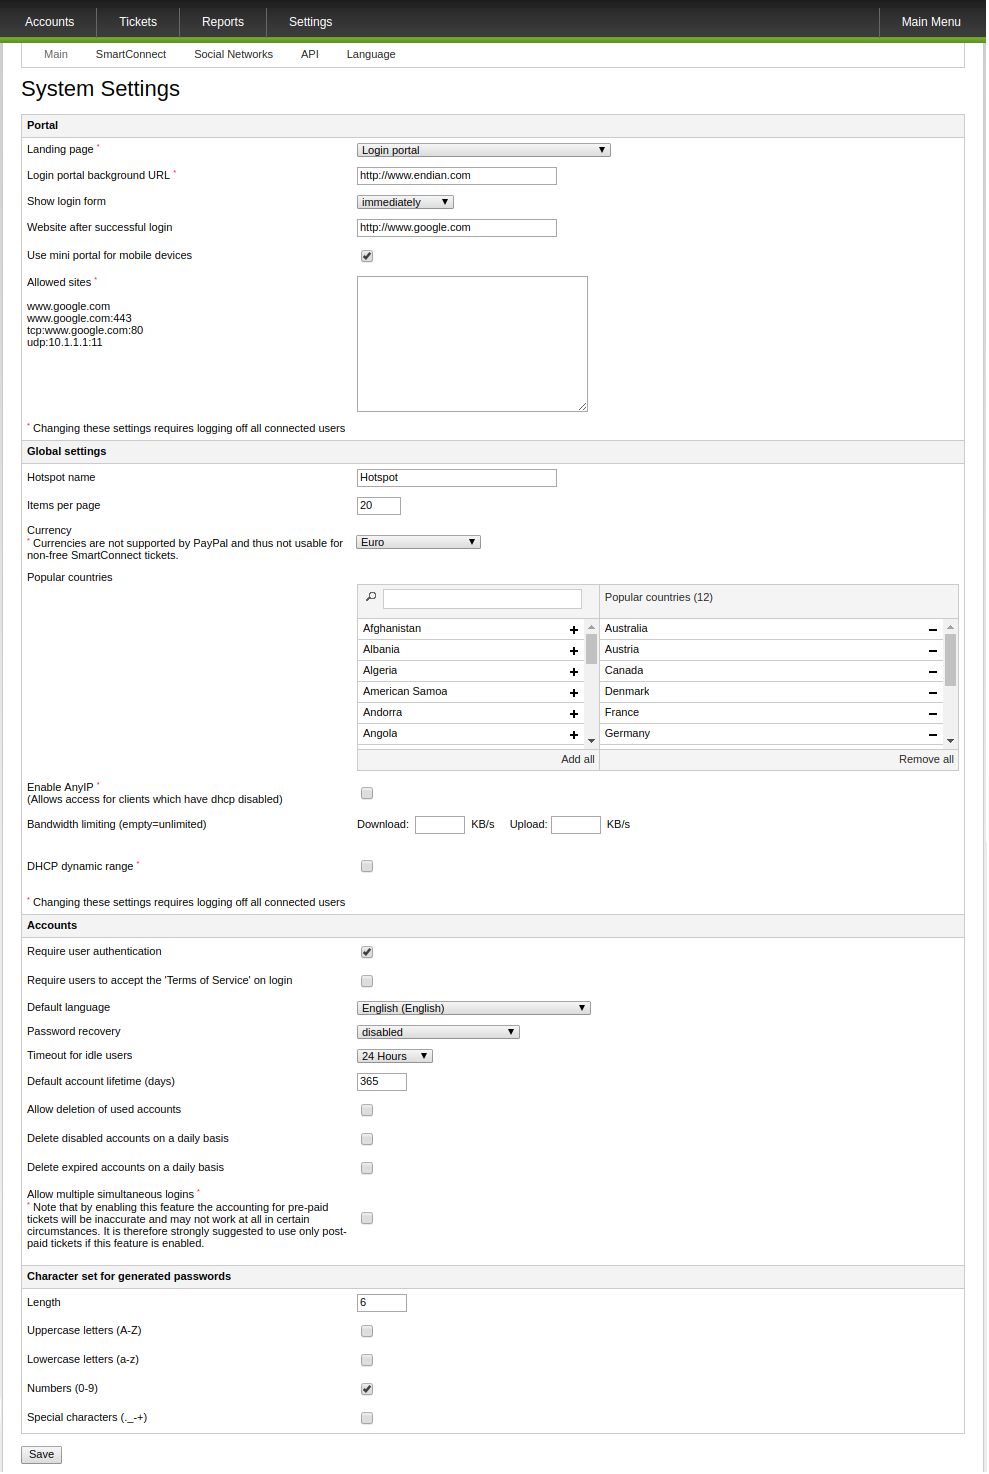
Next, we'll set the basic parameters for the hotspot. Select Settings from the hotspot administration interface.
The main configuration options to be concerned with on this page are:
- Homepage (URL) that the user will get sent to after successfully logging in
- Portal Background homepage (URL) that will be displayed in the background of the hotspot portal (prior to logging in). This must be a valid and accessible webpage (URL).
- Logout user on Idle-Timeout which determines after how long an idle hotspot users get automatically logged out (select unlimited if you want to disable this feature).
See the Endian manual for more specific information on these fields: http://docs.endian.com/5.0/utm//hotspot/admin/settings.html
Local User Creation
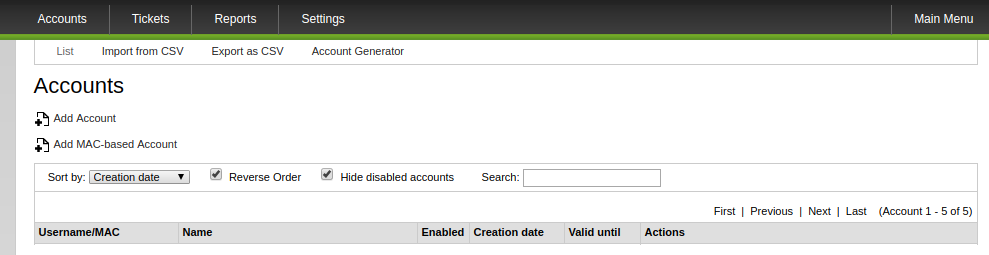
In order to be able to access the Internet, a local user needs to be generated and associated to the ticket previously created. in order to do this, from the hotspot administration page click on Accounts > Add Account.

A form will open, and it needs to be filled with the information of the user itself on the left part. In the right part, there is the section that allows to associate a ticket to this account, and is it mandatory to be able to access the Internet by logging with this user.
None of the form information are mandatory, as username and password will be randomly generated if left empty. The only necessary thing is to associate a valid ticket from the right panel by selecting it from Add new ticket list.
By clicking on Add, both the user information and the associated ticket will be saved.
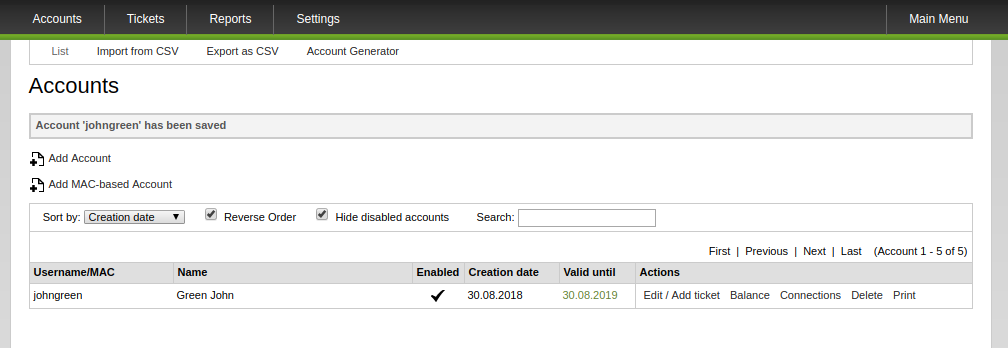
You will be brought back to the Accounts page, and the user just created will be shown into the list.
Account data can be printed by clicking on the Print voice.

The new account inherits all the default settings (defined in and is listed in the Accounts page, since it is an account like the other.
Customize the Hotspot
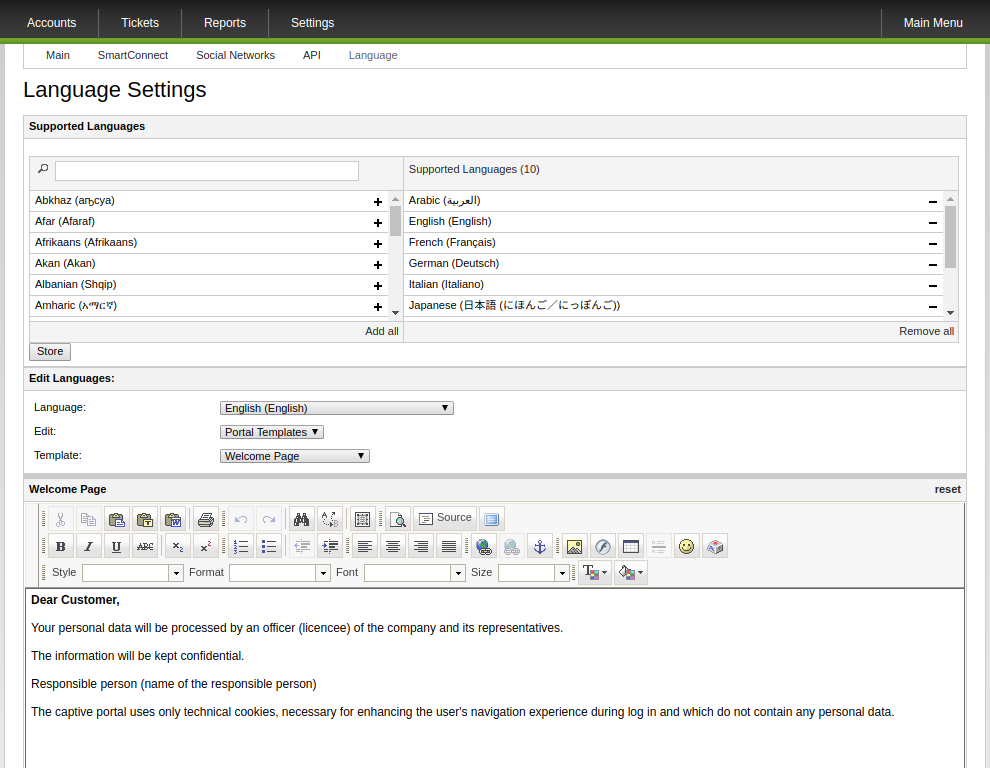
The last step is to customize the text displayed in the various hotspot portal screens. using the built-in (HTML) WYSIWIG editor found under Settings > Language. The first is the "Welcome" page which by default contains a disclaimer but you can modify this to introduce your company or service, perform advertising, or whatever else you prefer. The other options you may want to customize are the Terms of Service which the user must accept prior to logging into the hotspot or the Help screen to provide advice, tips, or contact info to your users.
Hotspot Client View
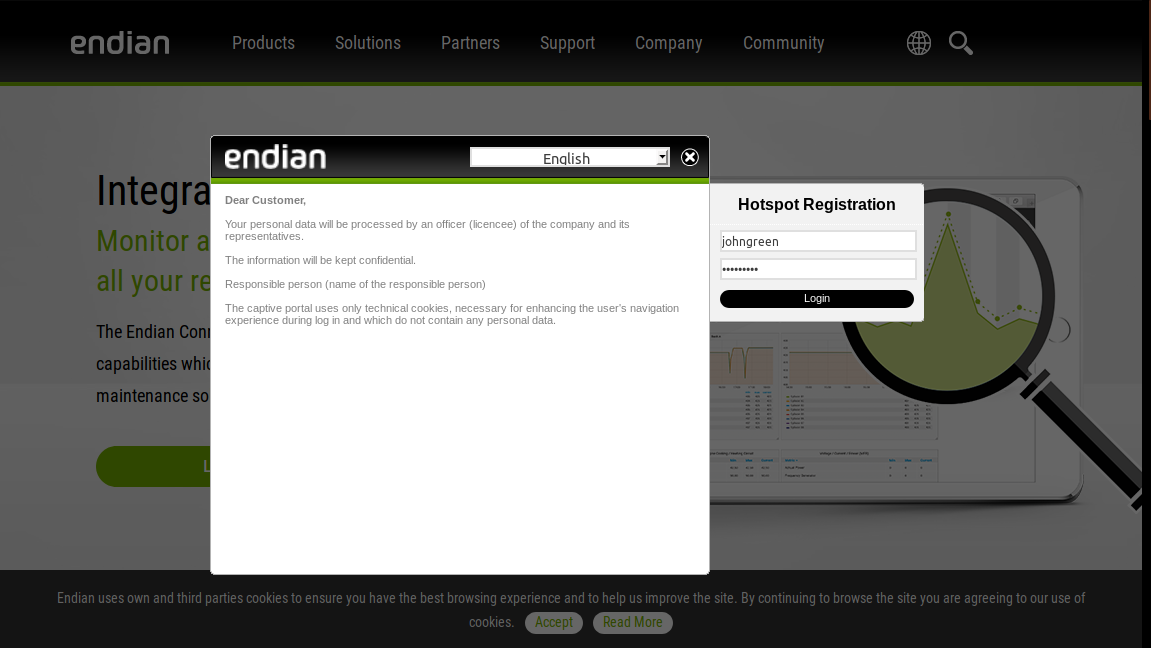
Now your hotspot users should get automatically redirected to the captive portal page. From here, they can login by using their local account to access the Internet through the hotspot. In the example, we are using our local account created in the previous steps.
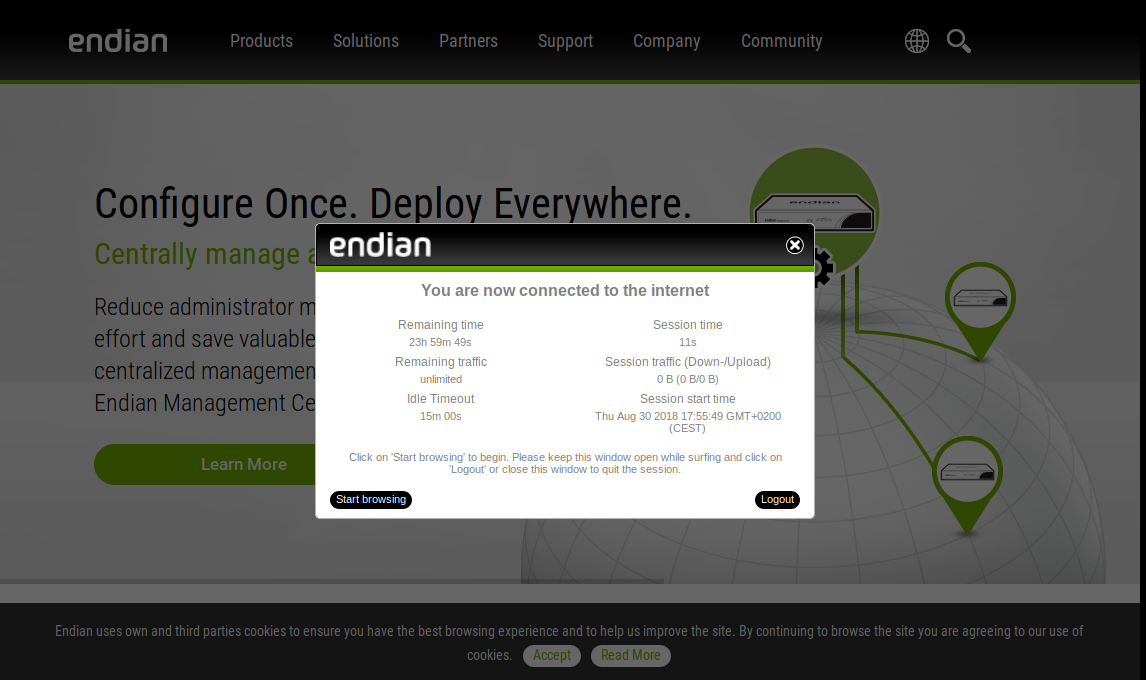
Login with the account by clicking on Login. A confirmation window will appear to confirm the access to Internet and give you useful information about the session just started.
Comments