Applies to Platform: Android 4.1 and up
Background
This lesson illustrates how to configure Android OpenVPN client to use password authentication.
Prerequisites
- Device with Android OS 4.1 and up
- Internet connectivity and Google account to access Google Play store and download OpenVPN application.
Warning
On Android is possible to create TUN tunnels only, as TAP tunnels are not supported by the operating system itself. For more information, please read OpenVPN Android client FAQs. The OpenVPN server instance has to be configured to use TUN device.
Client Installation
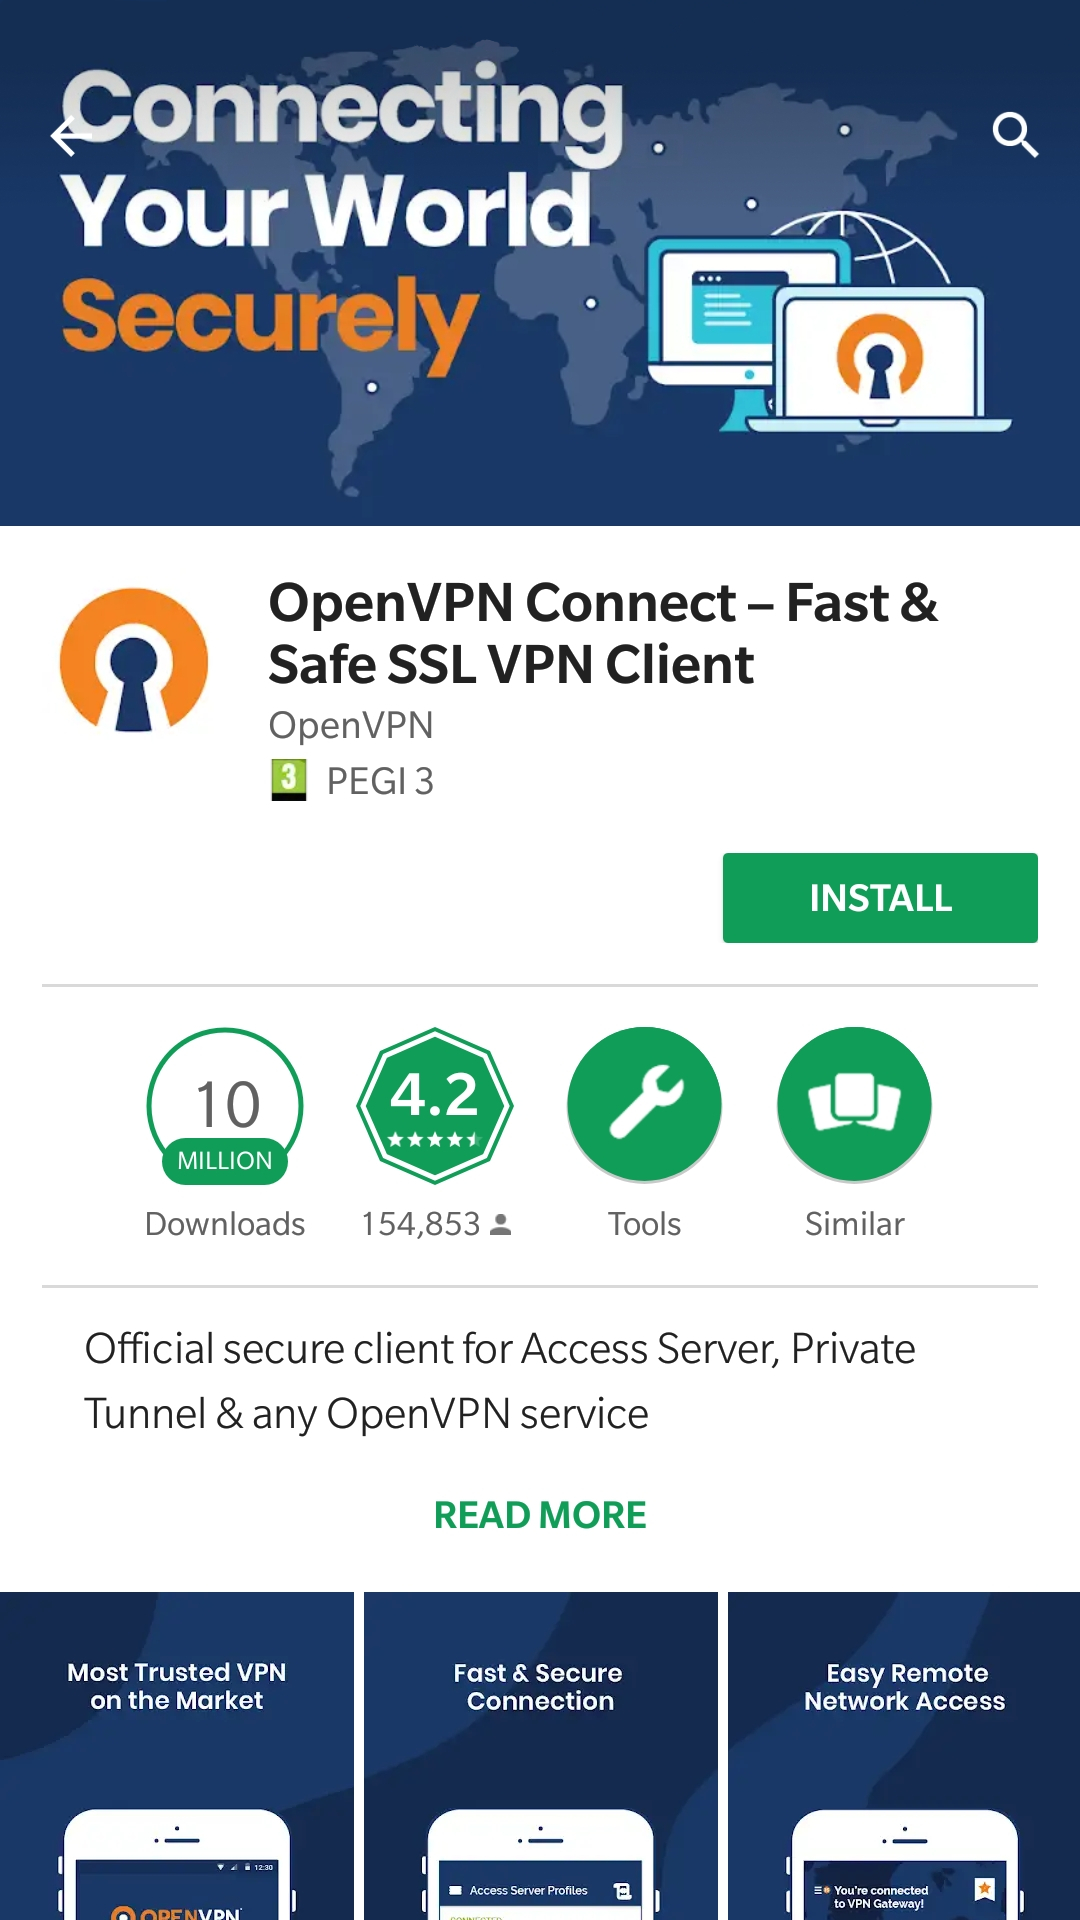
Download OpenVPN application from Google Play Store, at link https://play.google.com/store/apps/details?id=net.openvpn.openvpn and install it by clicking on Install button, as shown below.
Creation of .ovpn configuration file
Before starting with the steps to configure Android OpenVPN client, we need to create a .ovpn file where to put all our configuration parameters, as OpenVPN client for Android allows only to import .ovpn files in order to create a VPN profile.
In order to create an .ovpn file, just open an empty file, and paste the followings:
client
dev tun
proto udp                 #only if you use udp protocol
remote REDIP 1194       #1194 only if your vpn server's port is the default port
resolv-retry infinite
nobind
persist-key
persist-tun
auth-user-pass
verb 3
comp-lzo
ns-cert-type server
setenv CLIENT_CERT 0
<ca>
#paste content of Endian CA certificate here
</ca>
where you will have to replace REDIP above with the public RED IP of the Endian Appliance, and between <ca> and </ca> you need to put the content of the CA certificate of the Endian UTM Appliance. In order to retrieve it, click on Menubar > VPN > Certicates > Certificate Authority, then click on  button.

Scroll down the page until you see the following:

The content to be pasted into .ovpn file is the one similar to the following:
-----BEGIN CERTIFICATE-----
MIIEEjCCAvqgAwIBAgIQabYWy0MLMLVk74ZBpiTSNzANBgkqhkiG9w0BAQsFADAs
MQswCQYDVQQGEwJJVDEM[...]iqc6eG+zGY39UjD40lQahFm
Gng0GqYDIVemRo2XqSBQCYJbCZSjQj+YOQ+8HAHJRVvoSXwsm6Q=
-----END CERTIFICATE-----
For more information, please refer to OpenVPN Android client FAQs.
Note
Replace <REDIP> above with the public RED IP of the Endian Appliance and save the file with .ovpn extension.
Android OpenVPN client configuration
To successfully configure OpenVPN profile, import .ovpn file into your Android device, open OpenVPN app and follow these steps:
1. Import .ovpn profile into your Android device. One method could be by sending the certificate to an e-mail which can be accessed from Android device itself. Once received, download the .ovpn file and note the folder where it has been downloaded.

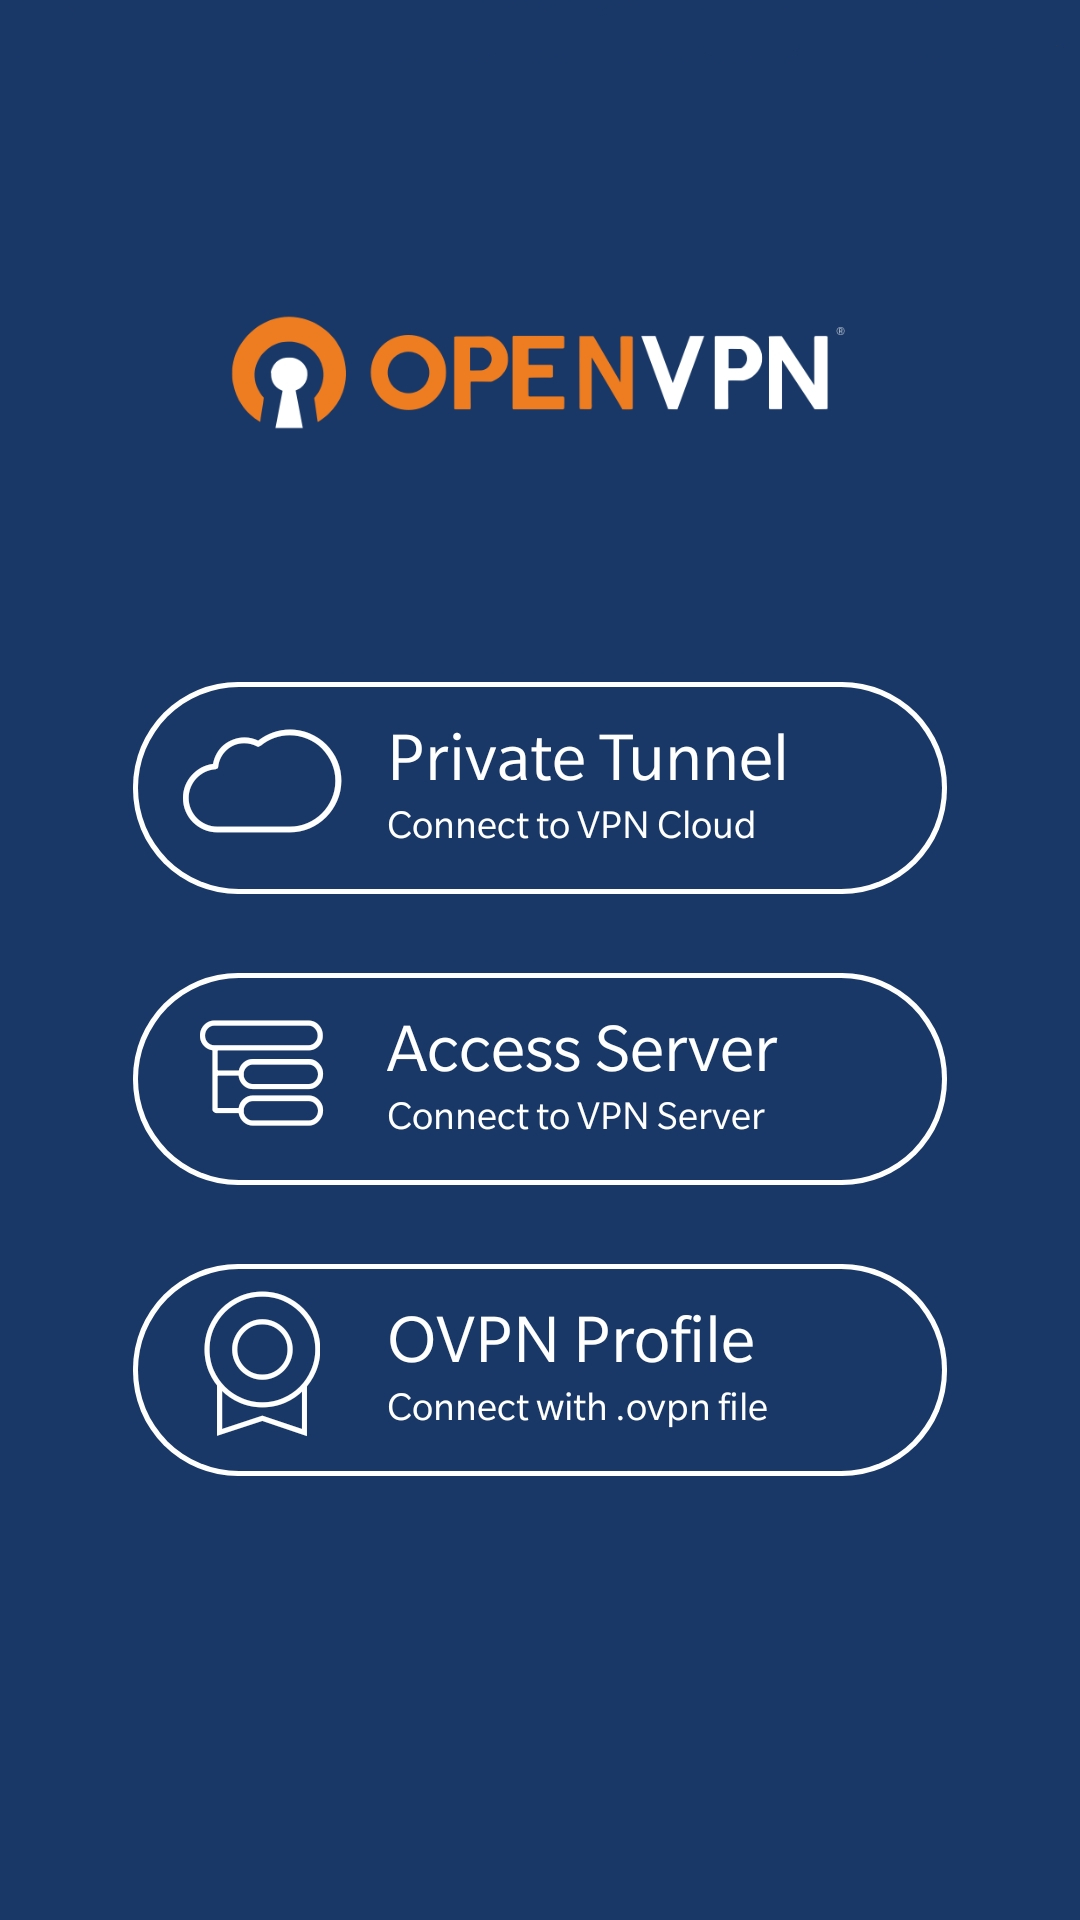
1. Launch OpenVPN app and tap on OVPN Profile (Connect with .ovpn file).
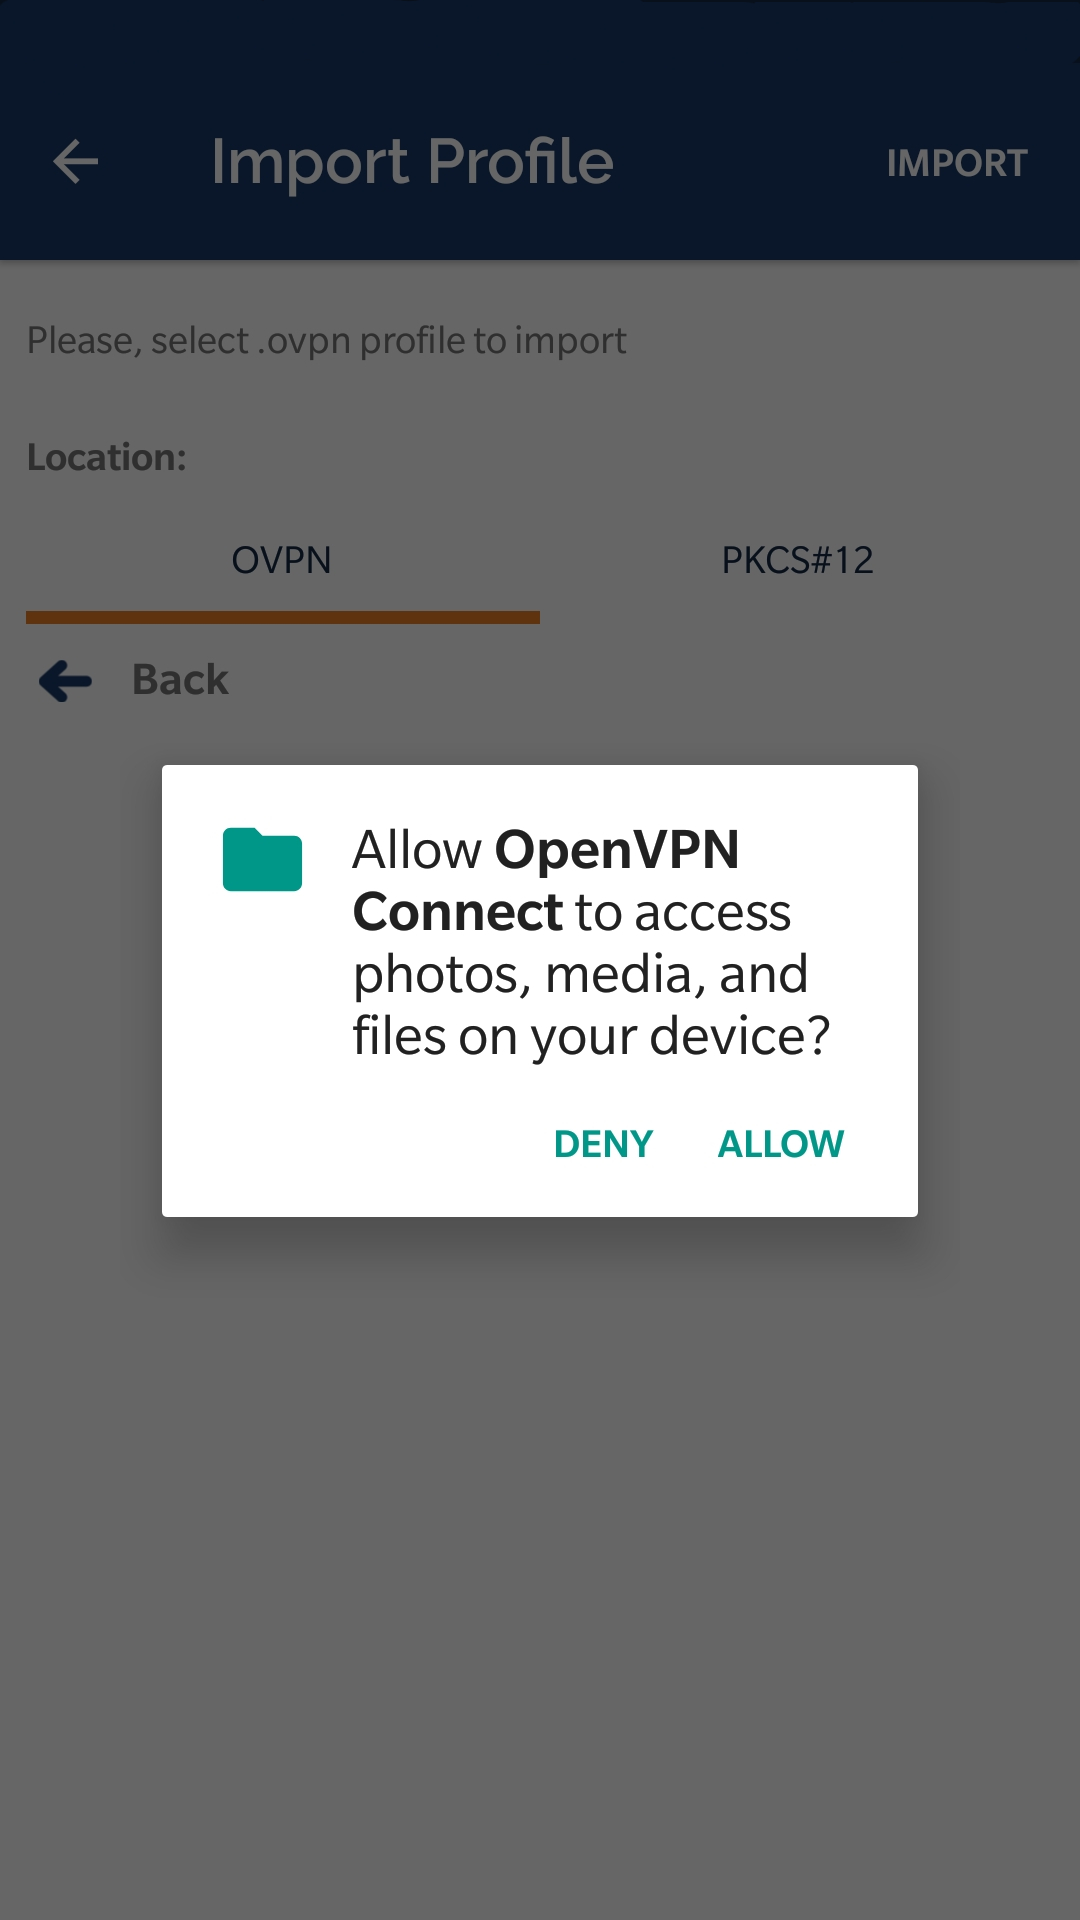
2. Tap on Allow.
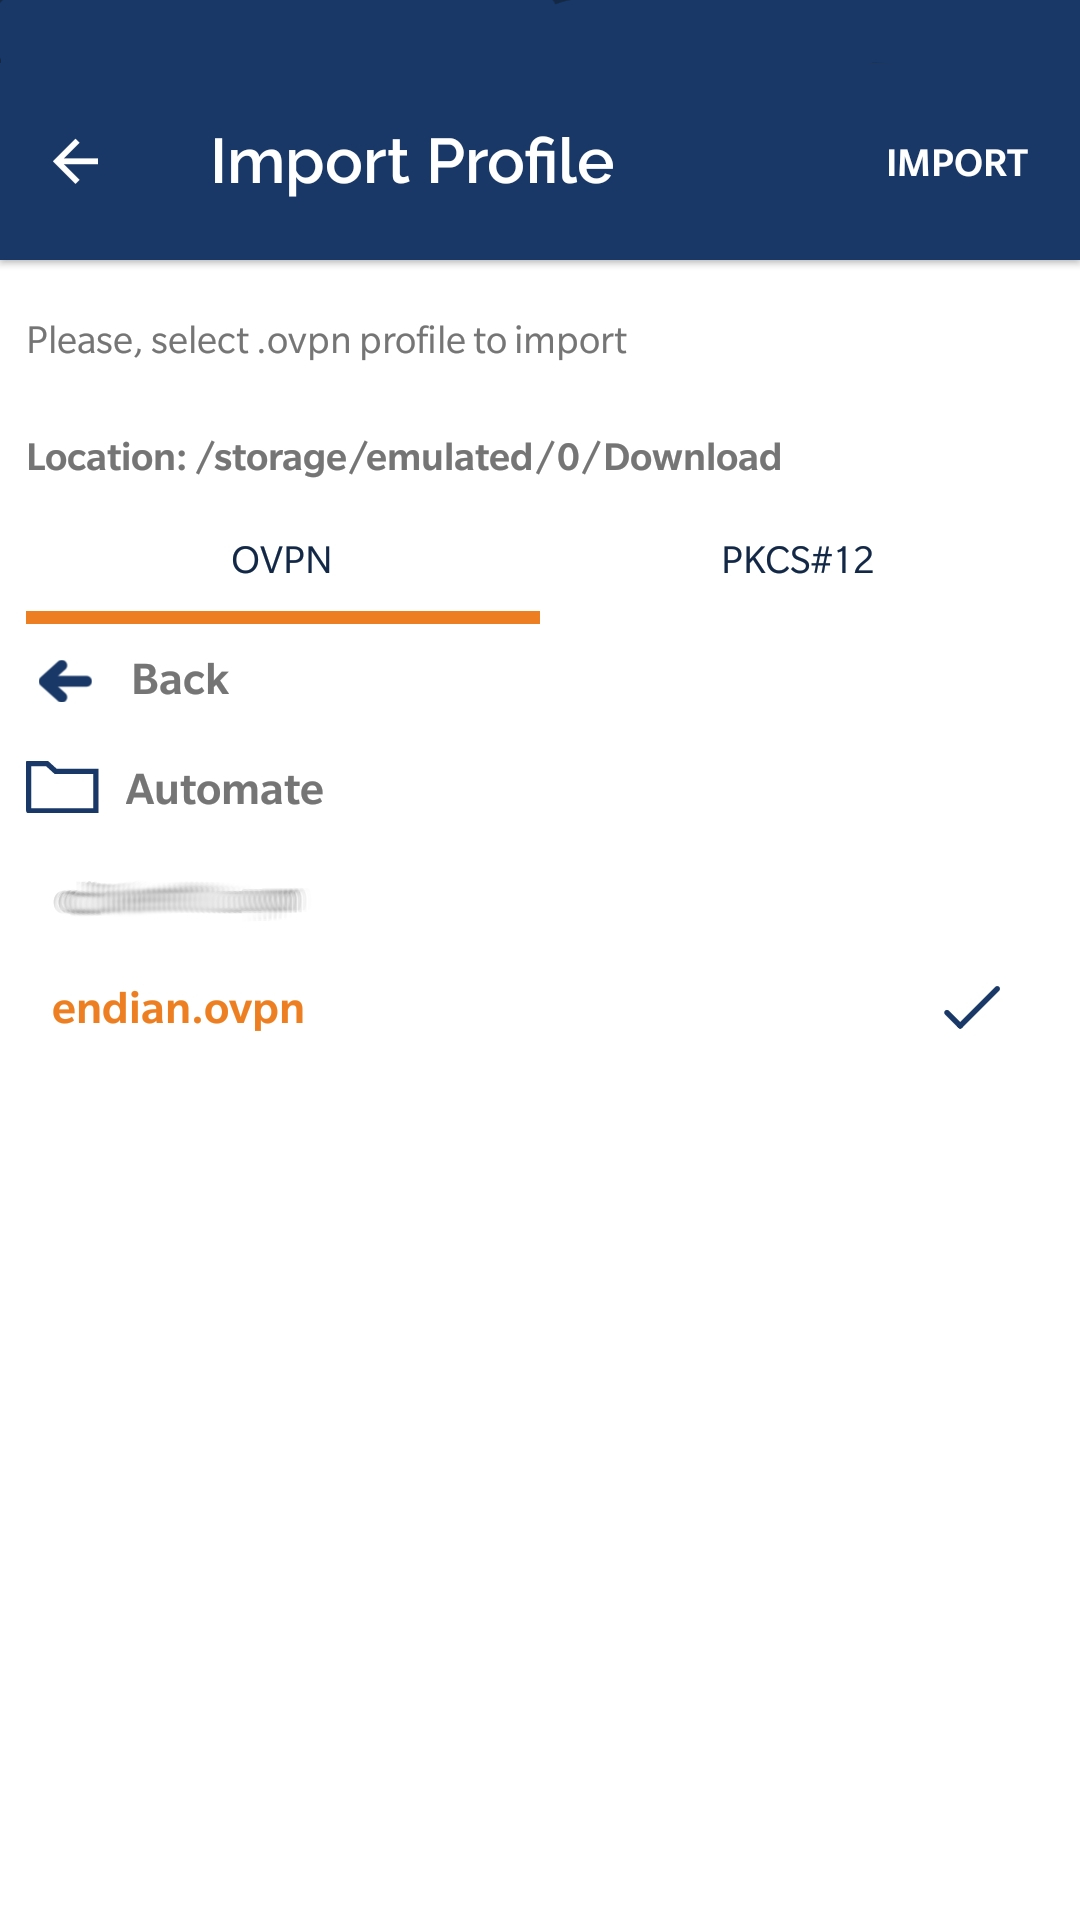
3. Tap on OVPN tab and look for the .ovpn file previously downloaded on your Android device, then select it and tap on Import.
4. Give VPN profile a title and type both client username and password, as configured on Endian UTM Appliance during client user creation, then tap on Add.
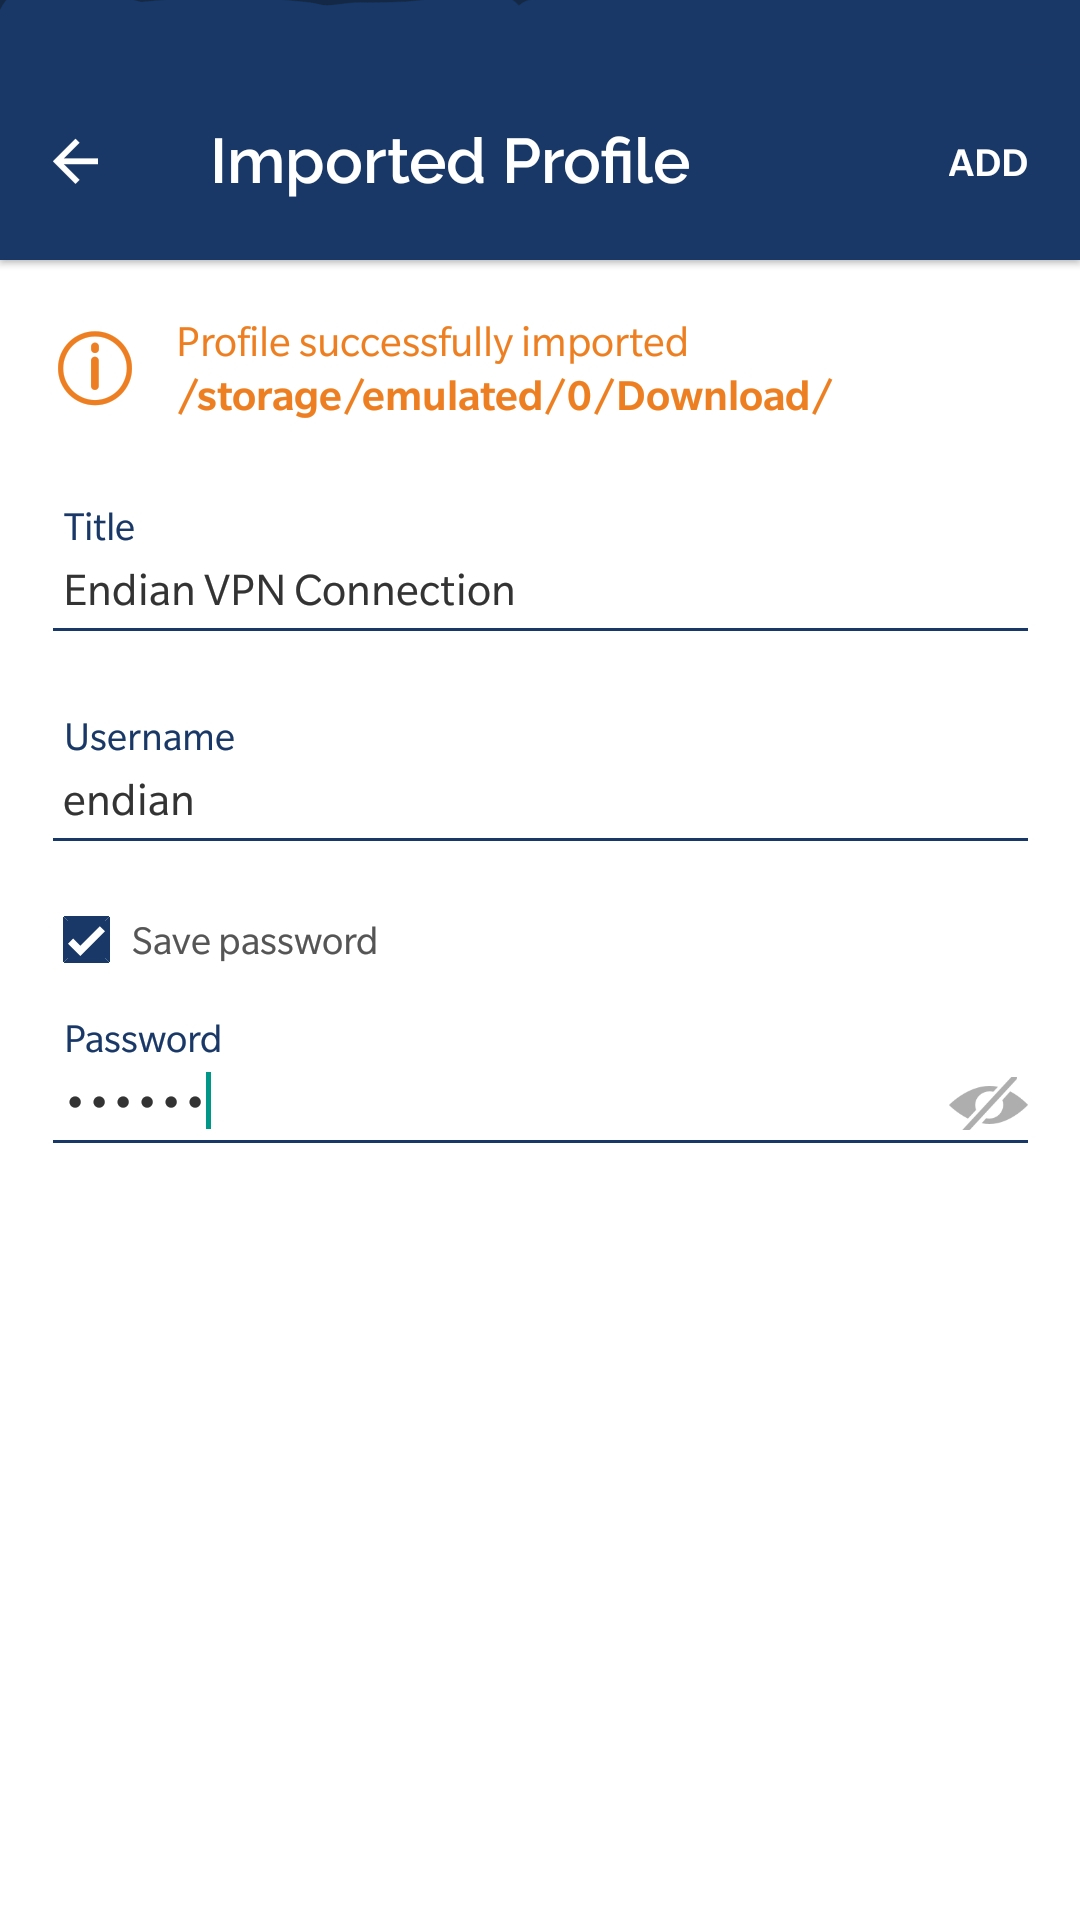
5. At this point, the OpenVPN profile is successfully imported, so we can connect to the VPN by tapping on the gray slider.

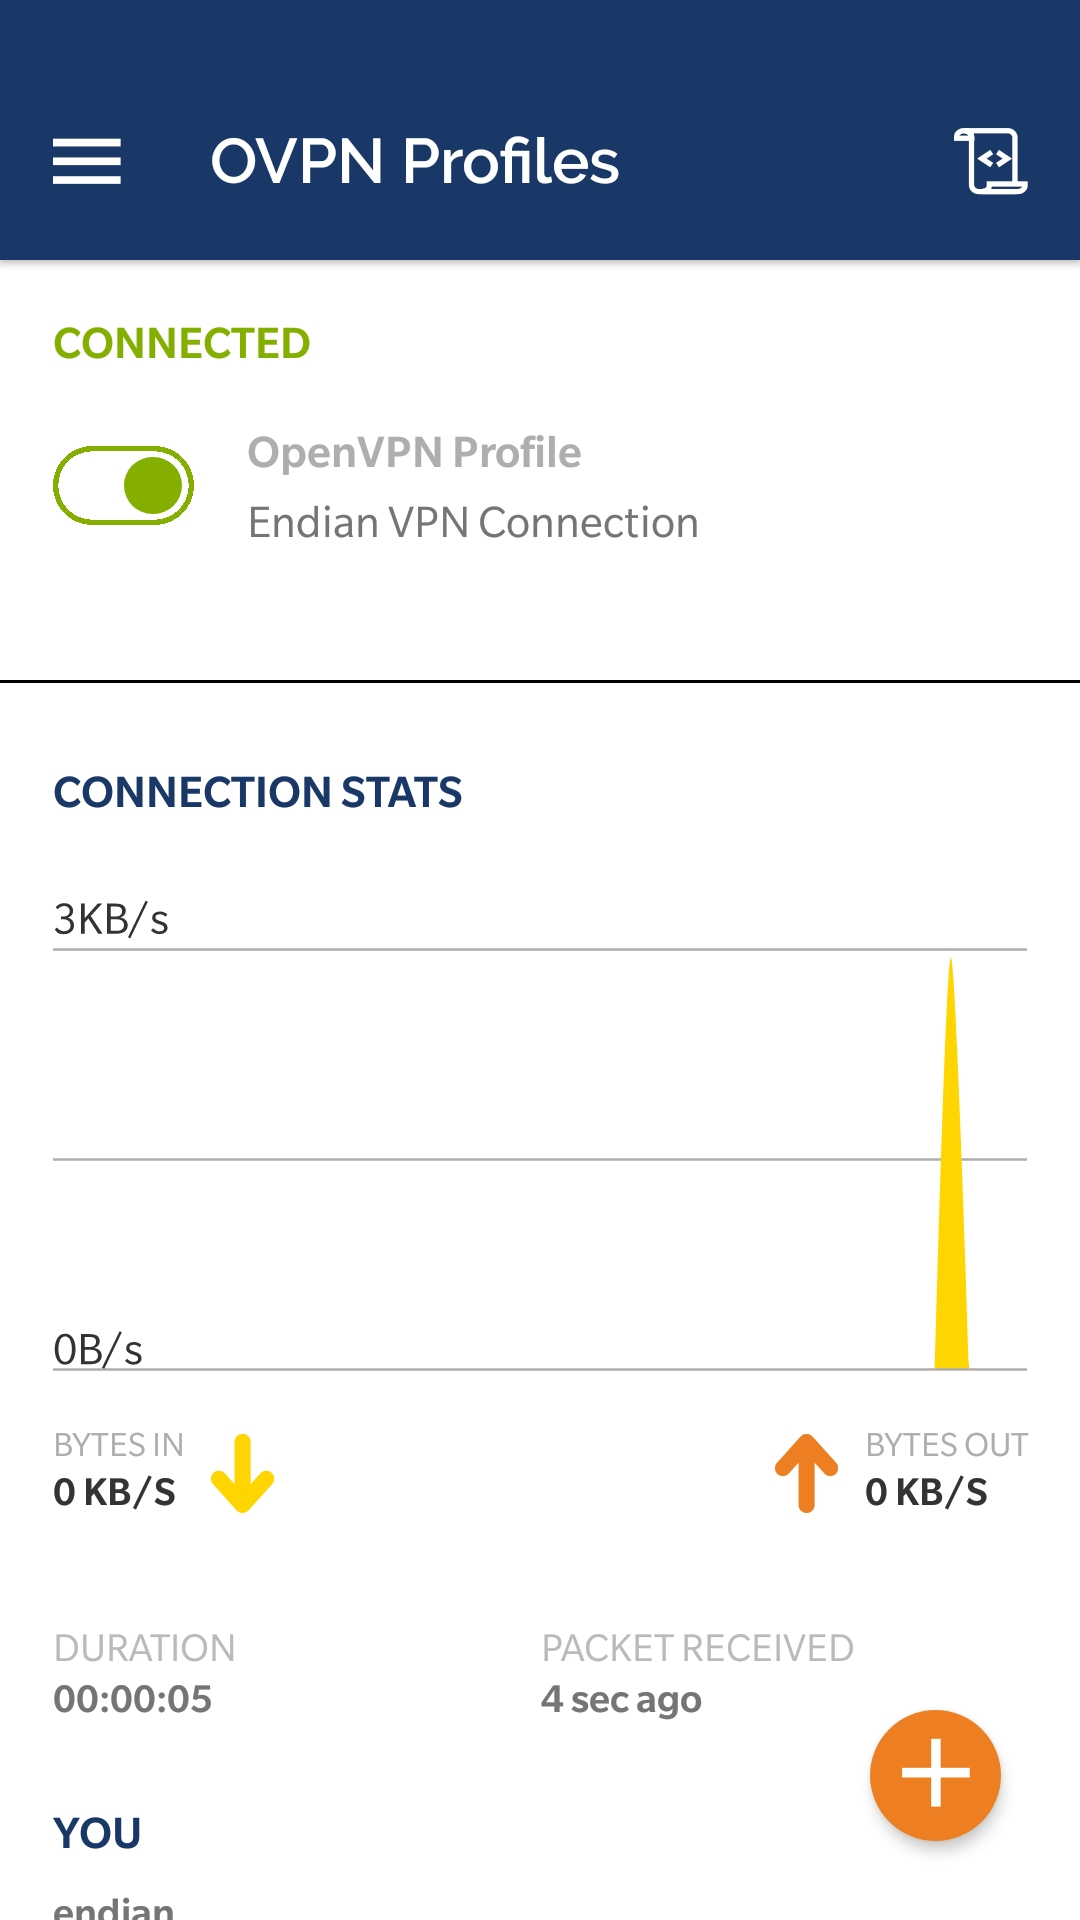
6. If the slides becomes green and the state changes to Connected, the OpenVPN connection has successfully established and OpenVPN client configuration is complete.
Comments