Applies to Platform: UTM 2.4 and 2.5, 4i Edge 2.4 and 2.5
Last Updated: 09 April 2014
Applies to Platform: UTM 3.0, 4i Edge 3.0, UTM 5.0, 4i Edge 5.0
Last Updated: 09 April 2014
This lesson will illustrate the necessary steps to configure a very simple Destination NAT (or Port Forward) on a typical Endian appliance. The primary purpose of DNAT (or Port Forward) is to take an internal application (IP and port) and expose that to the Internet to make it more widely accessible. This is commonly used for public access to web, mail, ftp, and other types of services.
Configuration Example

In this simple example, we'll setup a DNAT (Port Forward) for an HTTPS web server in the Orange (DMZ) network. We'll use one of our statically assigned public IP addresses as our external entry point for this exposed service.
Create DNAT Rule
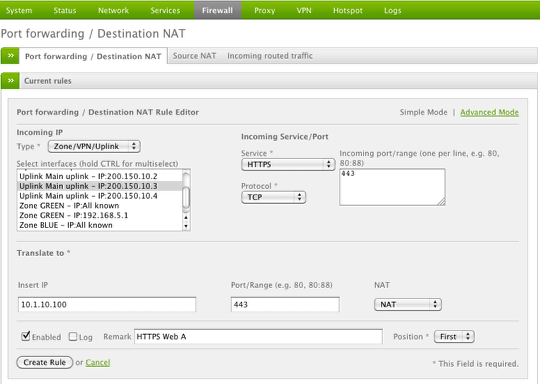
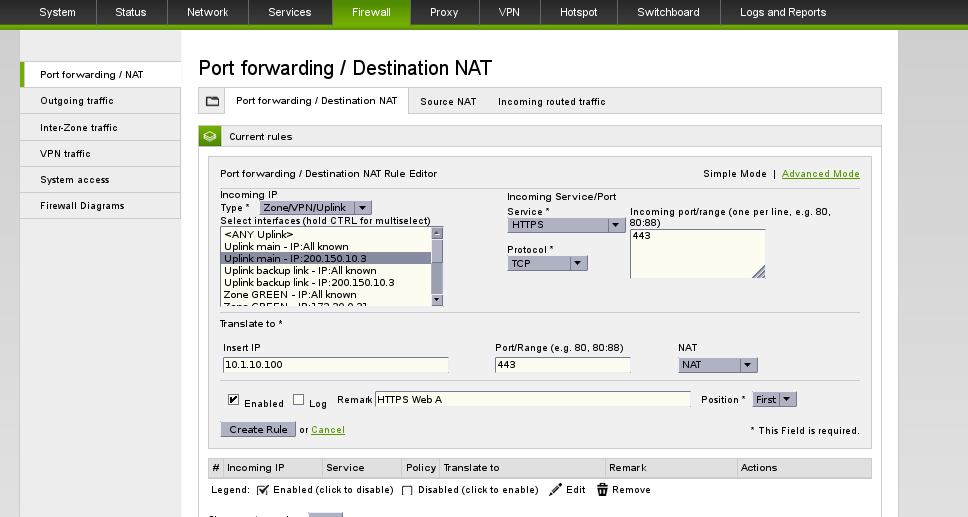
We'll begin by creating a new DNAT rule at which point we can configure all the necessary fields to correspond to our example network.
Once done, click the Create Rule button.
Apply the Rule
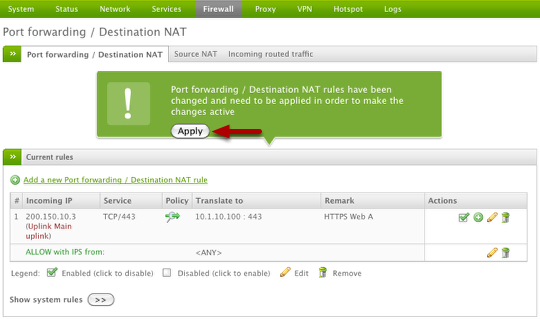

Once your rule is created, you must apply the rule to the device by clicking the Apply button (shown above).
Verify the Rule
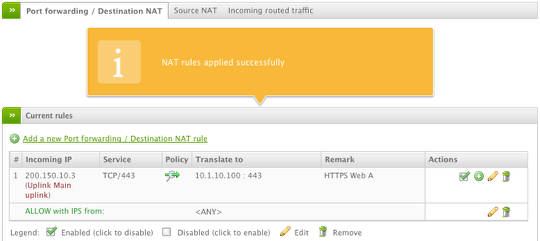
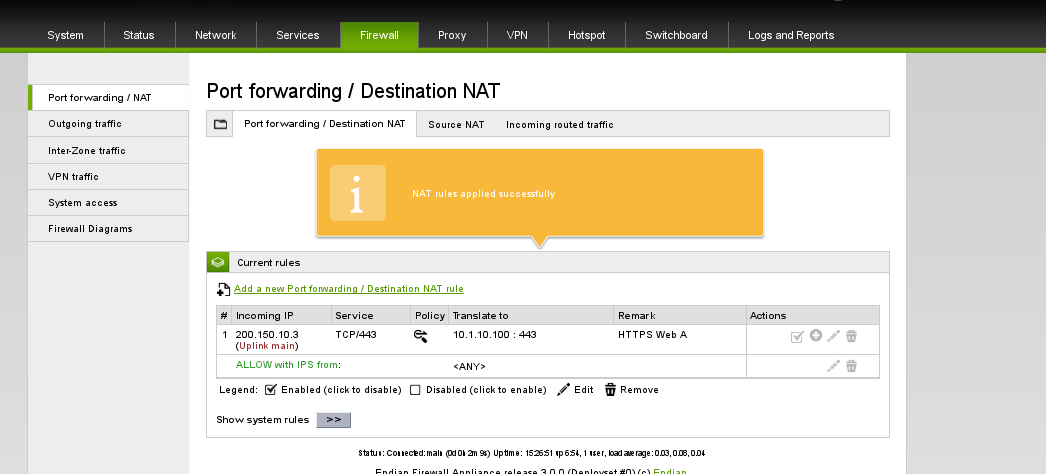
Now that our rule has been applied successfully, we can test that we can access the 200.150.10.3 on port 443 from the Internet.
Still valid for 2.5