Applies to platform: All UTM, All Edge
Last updated: 27th February 2017
A VPN connection can prove useful on two typical scenarios: On the one side, to configure a remote access connection for end-users to connect using their computer in order to access internal network resources (roadwarrior VPN client), on the other side for building tunnels between remote networks, for example for connecting two or more offices together (Net2Net VPN client).
This lesson will illustrate the necessary steps to configure a simple OpenVPN roadwarrior connection. If you need to set up a Net2Net client, read steps 1. and 2. here, then please refer to this article.
1. Enable the VPN Server

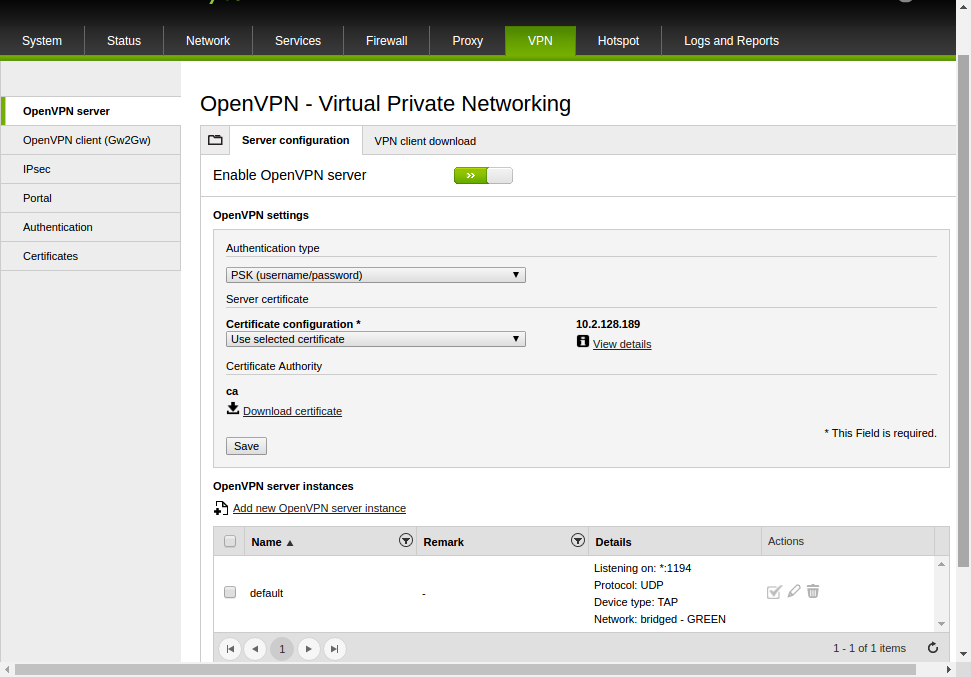
To enable the OpenVPN server, In the Dashboard go to: VPN > OpenVPN Server and click on the Enable OpenVPN server switch. The button should turn green after it is enabled. More details about the configuration of an OpenVPN server instance can be found in this howto.
Then from the Certificate configuration drop-down menu under OpenVPN settings, choose Download certificate to save the certificate on your local workstation, which will then be needed for the client's configuration.
2. Create the VPN Account

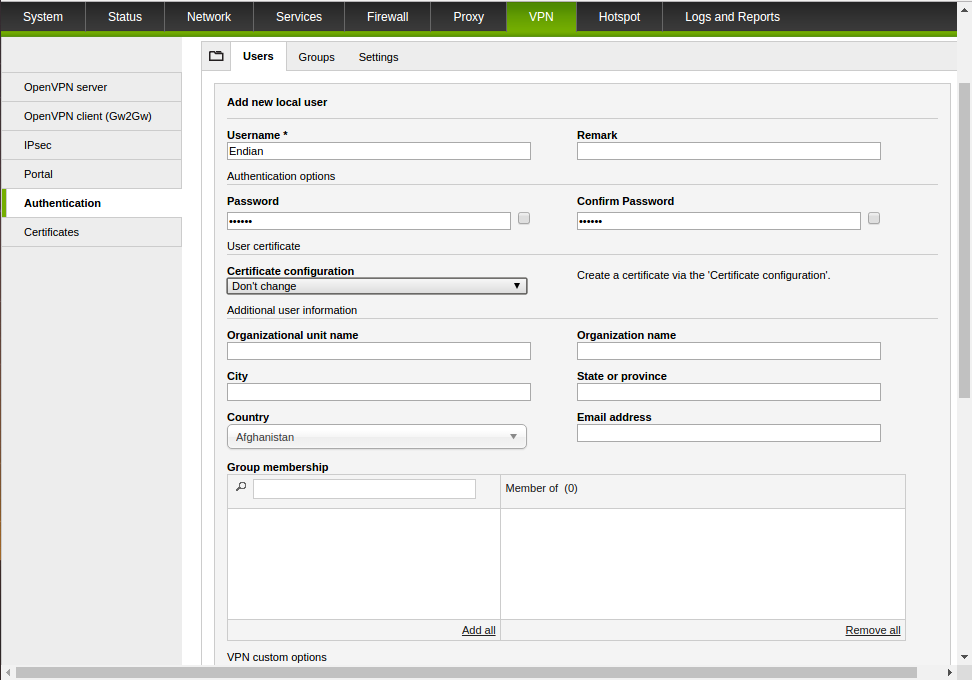
In order to create a VPN user go to VPN > Authentication and click on Add a new local user. The only necessary options to configure for the new VPN account are the Username (1) and Password (2).
Now, depending on the type of scenario you want to deploy, either go to the next section to setup a Roadwarrior connection or follow this howto to set up a Net2Net connection.
Once you've completed the necessary fields, click on Save to proceed.
3. Connect to the OpenVPN server from your computer
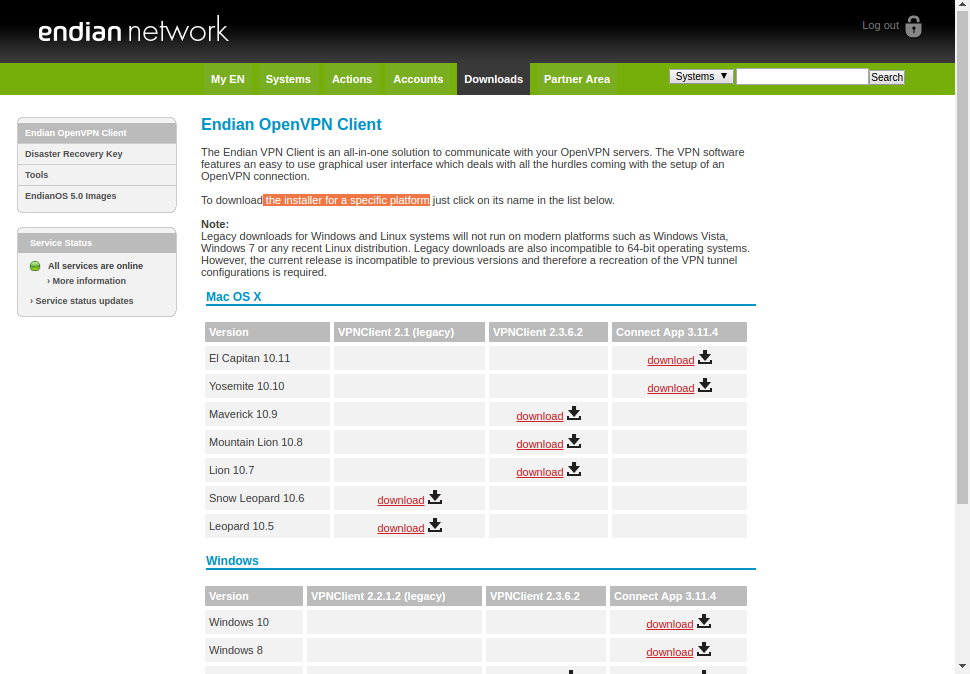
If you don’t have installed the Endian ConnectApp, go to https://network.endian.com.

Once logged in, click on the Downloads menu item, where you should see the available Endian ConnectAPP installer files, at which point you can click the file for your specific operating system Windows or Mac OS X. Once the download is complete, follow your operating system's normal procedure to run the Endian ConnectAPP's installation.
Note
4. VPN Client Configuration
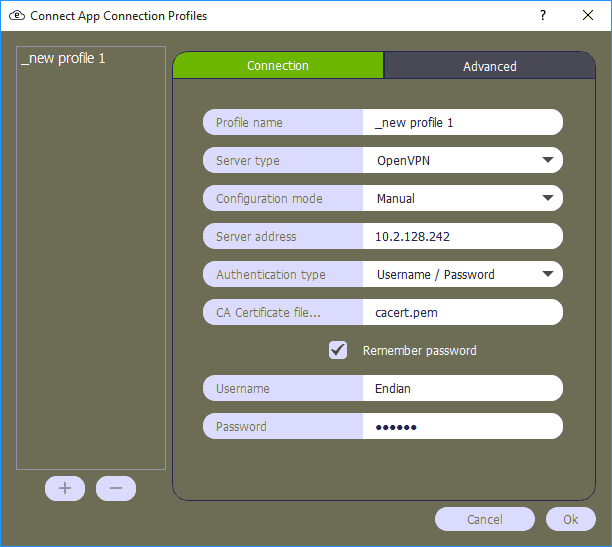
Launch the ConnectApp and create a new connection profile. The window below will appear. on which to configure the connection.

In order to complete the form that appears when creating a new profile follow the list below:
- Profile name: choose a name for your profile.
- Server type: from the drop-down menu select the OpenVpn.
- Configuration mode: select the Manual from the drop-down menu.
- Server address: write your server address (the Endian public IP address).
- Authentication type: select from the drop-down menu the Username/ Password option.
- Certificate file: search the CA certificate you downloaded in the third step (assumed that you saved it as cacert.pem).
- Insert the username and password created in Section 2.
Comments